TN Hist302 Custom Replication Schedules
![]()
Description
This article from InSource shows how to define schedules in the Wonderware HIstorian for Summary Replication.
- Author: Glenn Yancey
- Published: 06/21/2019
- Applies to: Wonderware Historian 2014 and higher
Details
Sometimes, there is a need to define a schedule outside of the default schedules for doing summary replication.
To add a Replication Schedule in the Wonderware Historian
- In the System Management Console, expand a server group and then expand a server.
- Expand Configuration Editor, expand System Configuration, and then expand Replication.
- Right-click Replication Schedule and select New Replication Schedule. The New Replication Schedule dialog box appears.
- In the Schedule Name box, type the name of the schedule (up to 256 characters).
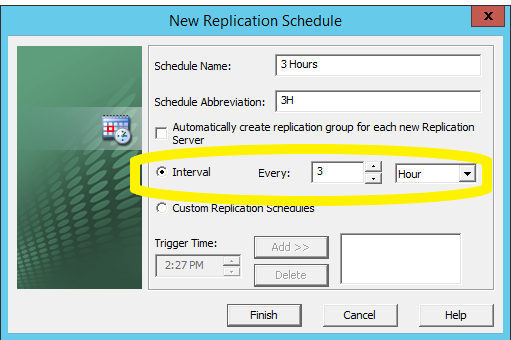
- In the Schedule Abbreviation box, type the schedule abbreviation (up to 32 characters). This is used as part of the default naming scheme.
For this example, I’m naming the Schedule Name as “3 Hours” and the Schedule Abbreviation as “3H”.
- Check Automatically create replication group for each new Replication Server to have the Historian add this schedule group to the default list of schedule groups whenever you create a replication server. (To add it to an existing server, you have to manually add the group.) We are doing this with LOCAL REPLICATION, so we don’t have to check this unless we are also replicating up to another server.
- Select Interval and specify a time to set a regular time interval for replication. Alternatively, you can select Custom Replication Schedules and then enter specific trigger times for the replication schedule. A custom replication schedule can have up to 100 trigger times. The Interval will start on the hour.
- Click Finish. The new replication schedule appears in the replication schedule list.
Now we need to create a Replication Group based off of the Replication Schedule.
To add a replication group
- In the System Management Console, expand a server group and then expand a server.
- Expand Configuration Editor, expand System Configuration, expand Replication, then expand Replication Servers.
- Expand the replication server you want to add the group to, and then right-click the folder you want to create the replication group in. Select New Replication Group. The New Replication Group dialog box appears. Here we are using Local.
- In the Group Name box, type the name for the new group (up to 255 characters).
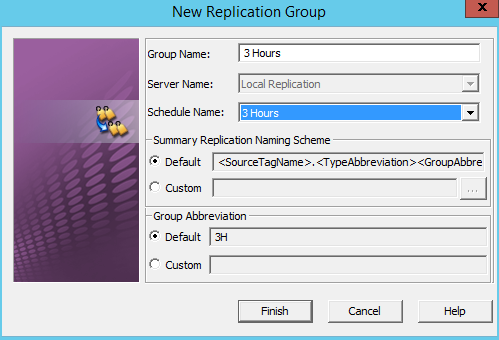
- In the Schedule Name list, select an existing schedule to assign to the group.
My Group Name is going to be set to match my Schedule Name which is 3 Hours.
- In the Summary Replication Tag Naming Scheme area, select the replication tag naming scheme to use. Specify a custom naming scheme by selecting Custom and clicking the ellipsis button to the right of the box. The Naming Scheme dialog box appears.
- In the Group Abbreviation area, select the default group abbreviation or type a custom group abbreviation.
- Click Finish. The new replication group appears in the replication server’s group list.
To add multiple simple replication tags
- In the System Management Console, expand a server group and then expand a server.
- Expand Configuration Editor, expand System Configuration, expand Replication, expand Replication Servers, then expand the replication server (Local).
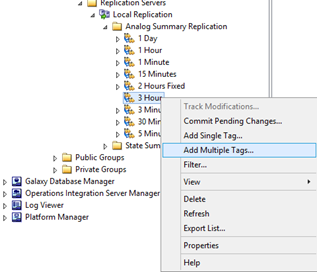
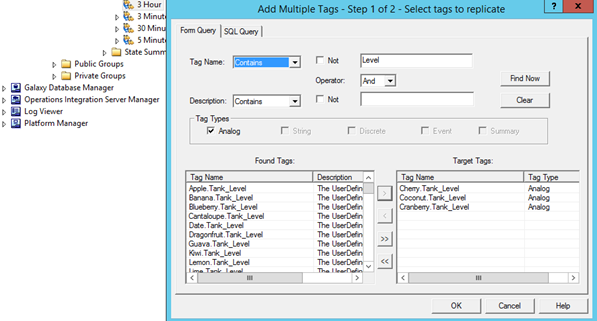
- Right-click the Simple Replication folder and select Add Multiple Tags. The Add Multiple Tags - Step 1 of 2 dialog box appears.
- In the Tag Name box, select an option from the drop-down list. Check Not to negate the search option in the Tag Name box. Type the search string in the box to the right.
- If you also want to search using a description, select an operator in the Operator box and then make entries in the Description boxes.
- Click Find Now to start the search. Results matching the criteria appear in the Found Tags box.
- Move tags from the Found Tags box to the Target Tags box by double-clicking them or highlighting the tags and using buttons to the right of the Found Tags box.
- Click OK. The Add Multiple Tags - Step 2 of 2 dialog box appears.
- You can modify the destination tagname by editing it directly in the Destination Tag Name column.
- Click Apply. The system adds the tags. A status indicating the outcome of operation appears for each tag in the Status field.
- Right click on the Local Replication Server and choose COMMIT PENDING CHANGE.
Querying Using Historian Client
- Once connected to your Historian in the Query utility, choose Analog Statistics as your Query Type.
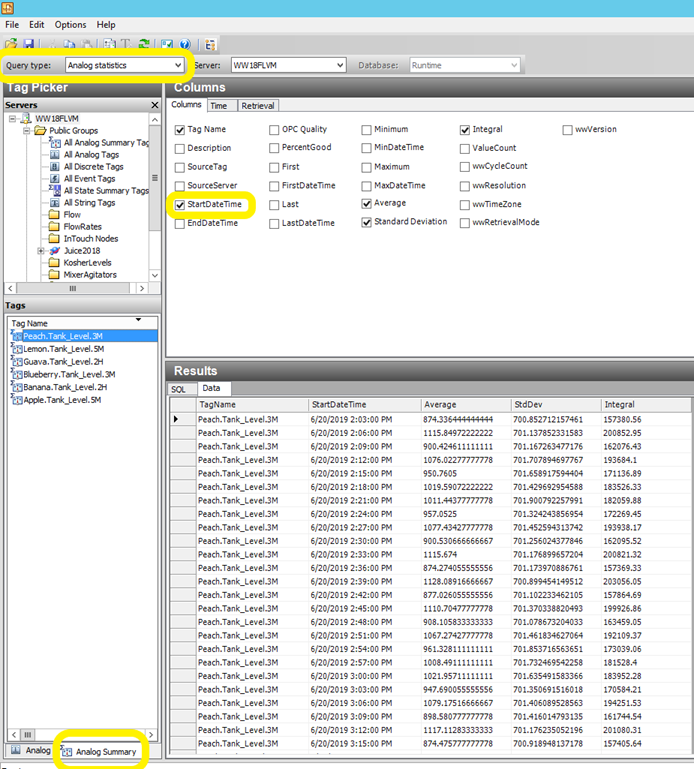
- Then choose the Analog Summary tab at the bottom to be your Filter to only show Analog Summary tags.
- In my scenario, I’m using 2 tags that I have that generate a summary for every 3 minutes (despite the fact that the above report shows 3 Hours).
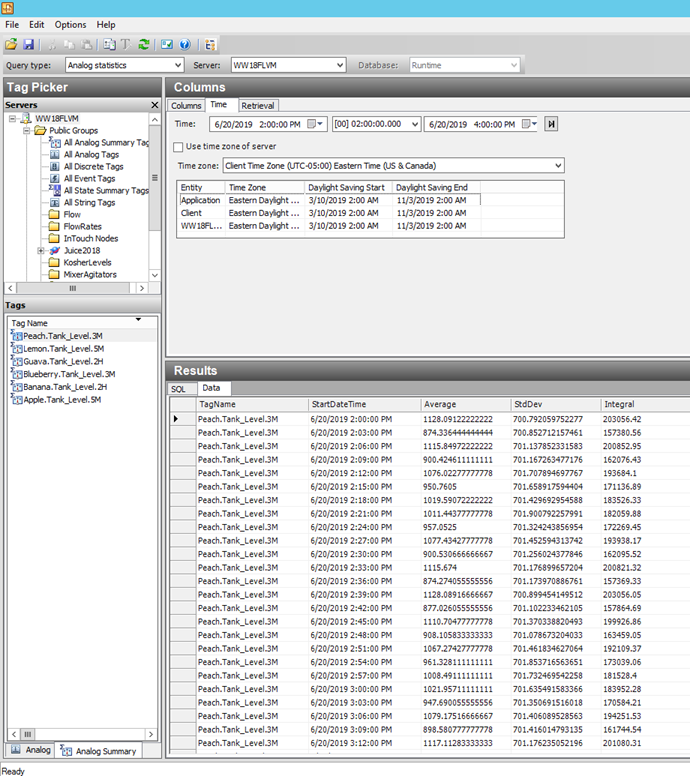
- Choose Full Retrieval in the Retrieval tab.
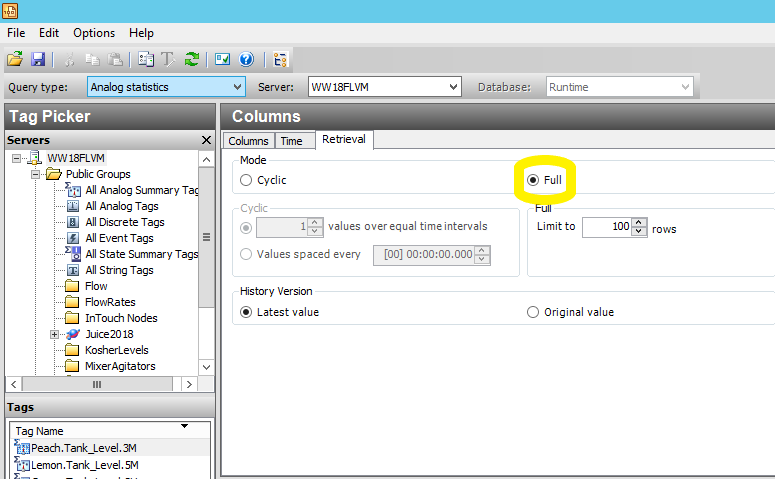
- So your values should now show a summary row (Avg, Min, Max, Std Dev, Integral, etc) for the interval that your Schedule was based off of. The 3M and 5M denote the suffixes that let the operator know what the Interval was.