TN HistClient125 Updating the Server Name in Historian Client Trend Files
![]()
Description
This article from InSource shows how to modify the server name referenced in existing Historian Client trend files.
- Author: Rich Brooks
- Published: 5/16/2016
- Applies to: Historian Client 2014R2 and higher
Details
Migrating a Historian to a newer version often involves new server hardware. This typically requires a new server name for connecting to the Historian. There are often many saved Historian Client trend files that need to be updated with the new server name. The following are details on how to modify the name without rebuilding the trend files.
1. The first step is to open and save each of the trend files in the new version of Historian Client. This will update the xml file to the latest format used to store the configuration information.
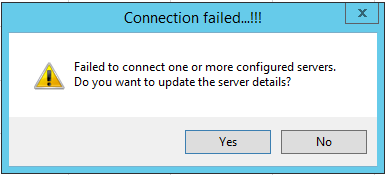
2. Click on the No button, if it fails to connect to the old server.
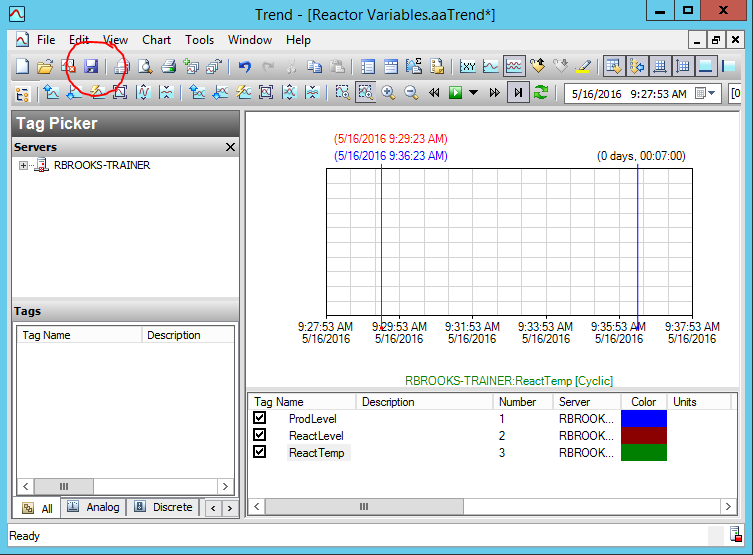
3. Select the Save button to save the trend (*.aaTrend) file with the latest xml format.
4. Repeat steps one through three above for each of the trend files that need to be updated.
5. Open Notepad++ to edit one or more trend files at the same time.
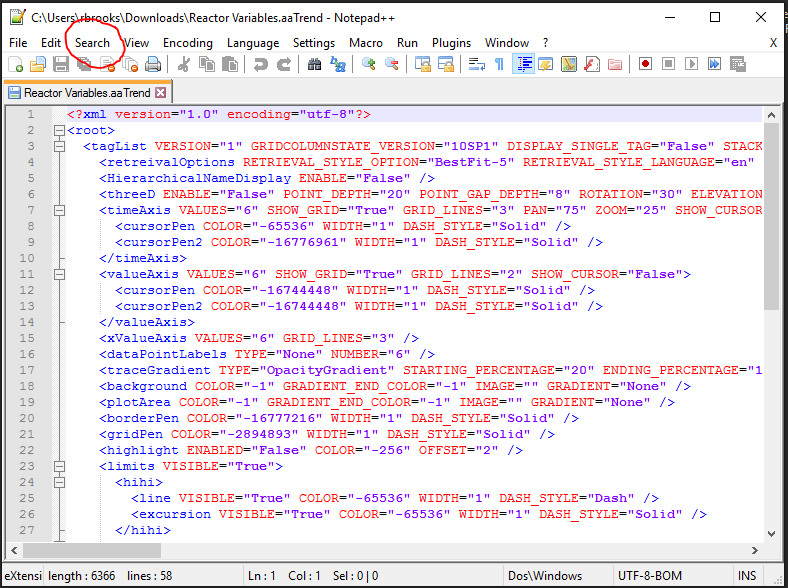
6. Select Search | Find in files from the menu.
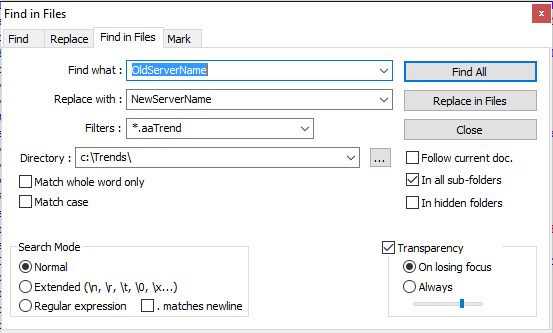
7. Fill in the following information and then click on the Replace in Files button.
Find what: <old server name>
Replace with: <new server name>
Filters: *.aaTrend
Directory: <trend file path>
In all sub-folders: checked
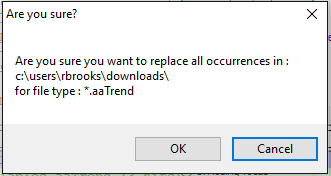
8. Confirm the replacement by clicking OK.
All of the files are now updated with the new server name and ready to use.