InSource Solutions

ACP ThinManager Licensing Guide


insource_logo_large.jpg


software-licence.jpg
LICENSING GUIDE

Description

Everything you need to know about how to install the ACP ThinManger license.  More information can be found at thinmanager.com.


Author

Jimmy McGlaughlin

Publish Date 01/14/2014

Applies to Software

ACP ThinManager

Applies to Version

4 and greater

Applies to System/Module

Terminal Services

Article Version

01.01.01

************************************************************************************************************************************************************

Overview of ACP ThinManager License Management

An overview of ACP ThinManager Licensing can be found HERE.


Installing Your Master License


Master License Function

The Master License is a container to hold the collection of individual licenses for a ThinManager Server or a redundant pair of ThinManager Servers. Each deployment of ThinManager requires the creation of a Master License. Individual licenses are added to the master. The master license is activated and applied to the primary ThinManager Server. The primary ThinManager Server will transfer the license to the secondary ThinManager Server in the case of mirroring or redundancy.

Master License Advantage

The use of a Master License means that there is one license for the ThinManager Server. You only need to activate and transfer one master license if you need to decommission an old ThinManager Server and build a new one. New license components get added to the master license and the master license is re-activated and reapplied to the ThinManager Server.
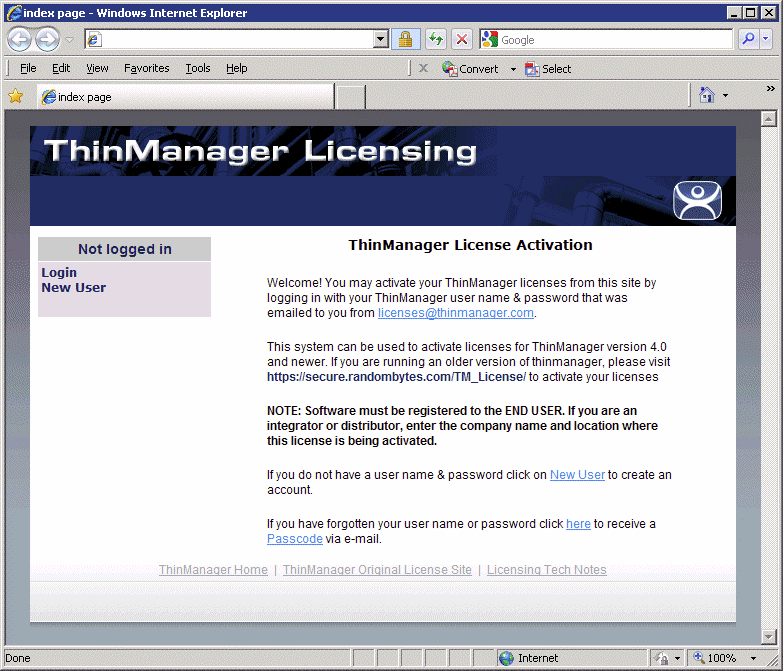
Online Activation

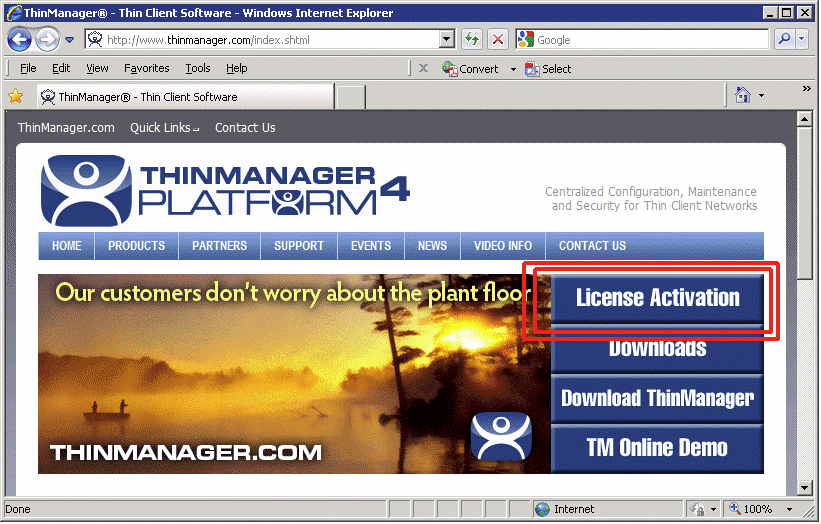
ACP Licenses are activated online at the ThinManager site. Go to www.thinmanager.com and follow the link.

    acp1.png


    acp2.png


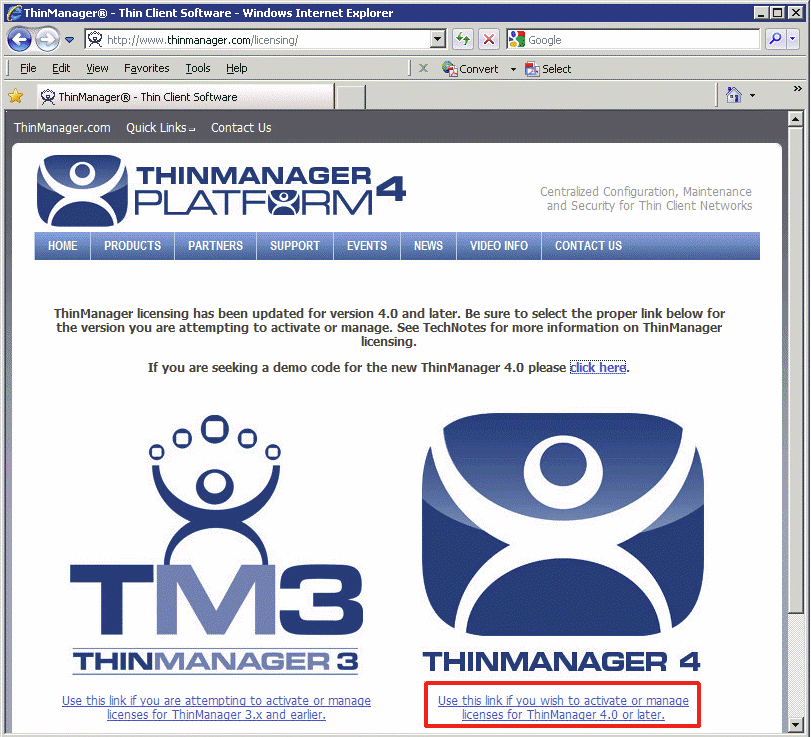
Select the link to enter the ThinManager 4 section of the license site.

    acp3.png


Login to the site. If you are a new user select the New User link to create an account.
Follow the instructions to create a new account.

    acp4.png


Once you are logged in the ThinManager Licensing site has a sidebar with 6 functions:
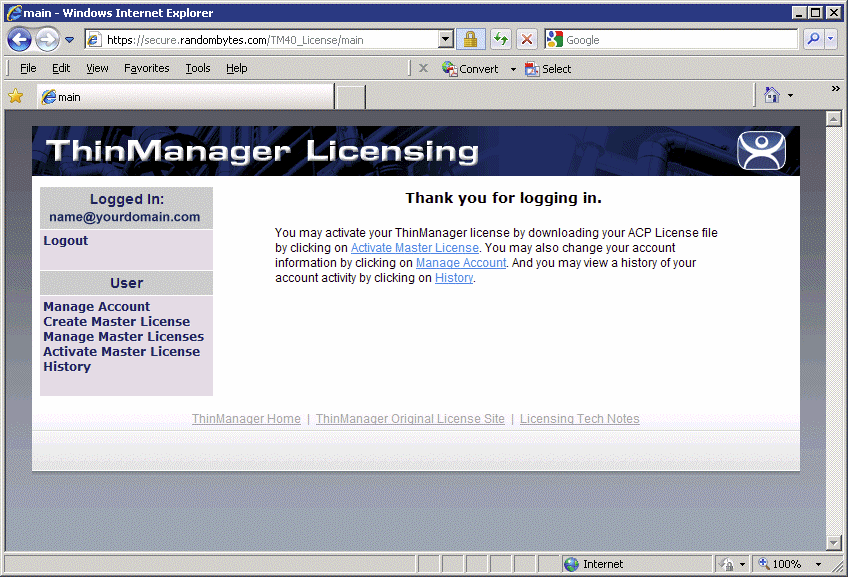
  • Logout – This will log you out of the site and end your session.
  • Manage Account – This allows you to change the details of the account, like address and phone number. It also has a link that allows you to change the password to one of your choosing.
  • Create Master License – This creates the Master License that acts as a shell or container to hold the individual license product codes.
  • Manage Master License – This allows you to add the product license codes of the individual license components to the master license.
  • Activate Master License – This allows the master license to be activated and downloaded for installation.
  • History – This shows the history of actions taken by the user.


Creating a Master License

Select the Create Master License link to initiate the creation of a master license.

    acp5.png


Enter a description of the license for your usage in the Server Name/Server Description field.
 
Redundancy field
License Redundancy is set with the radio buttons. Choose whether the system will have a single
ThinManager Server (None), or a synchronized pair of ThinManager Servers (Full Redundancy or Mirrored
Redundancy). The Terminal Connection Product License must match this selection.
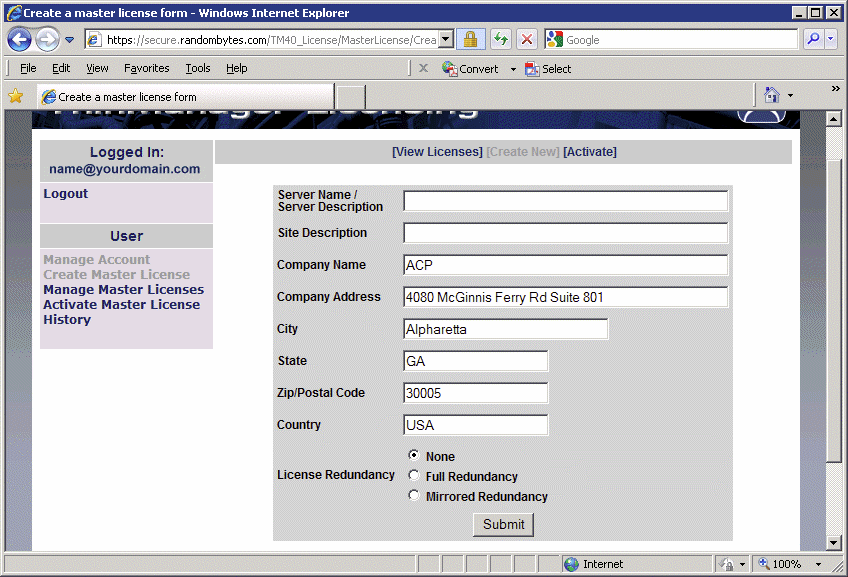
  • The master license can be created as a stand alone ThinManager Server (None) and have​ redundancy added later. You will need to contact ACP ThinManager tech support (techsupport@thinmanager.com) to have the master license converted from None to Ful Redundancy or Mirrored Redundancy.
  • A master license can be created as Full Redundancy or Mirrored Redundancy for a stand alone​ ThinManager Server and have the second ThinManager Server added at a later time.
Select the redundancy level that will be used and select the Submit button.
    acp6.png


The site will create a master license and display the information for you. It is useful to print this page for your
records.
 
Manage Master Licenses
Use the Manage Master License link to add licenses to the Master License.
    acp7.png
 
Selecting the Manage Master License link will display the master licenses.
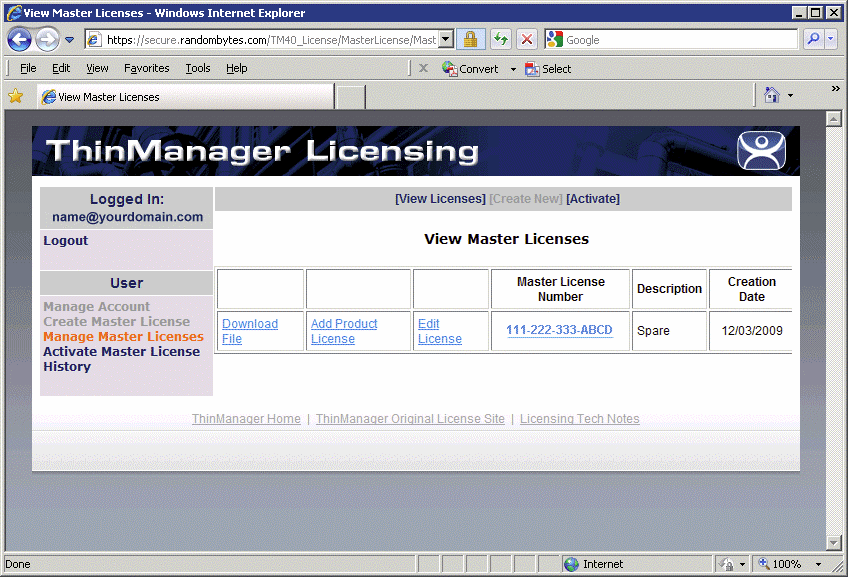
  • Download File – This link will download the master license file once the product codes of the component licenses are added. The Master License needs to be activated before downloading. If this link is selected before activation it will prompt for an activation.
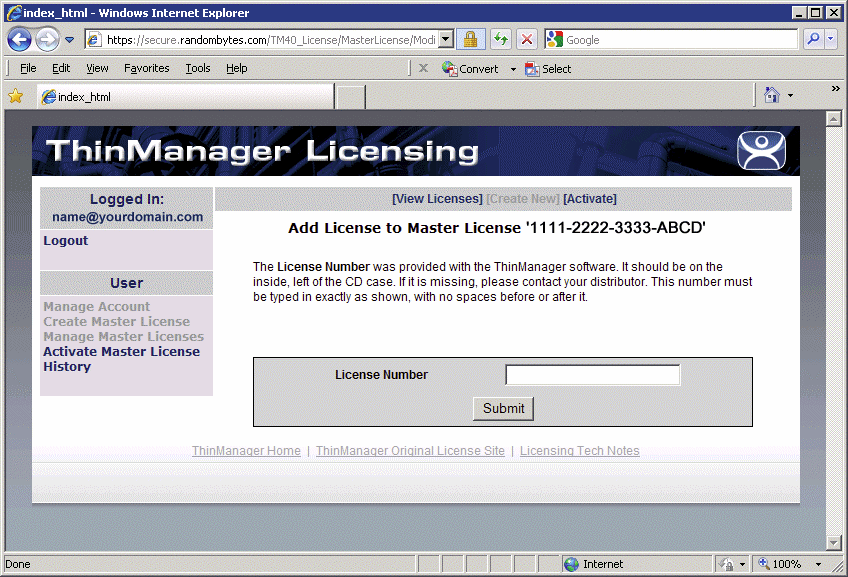
  • Add Product License – This link will allow a product code of a license to be added to the master license.
  • Edit License – This link allows the descriptions of the master license to be edited.
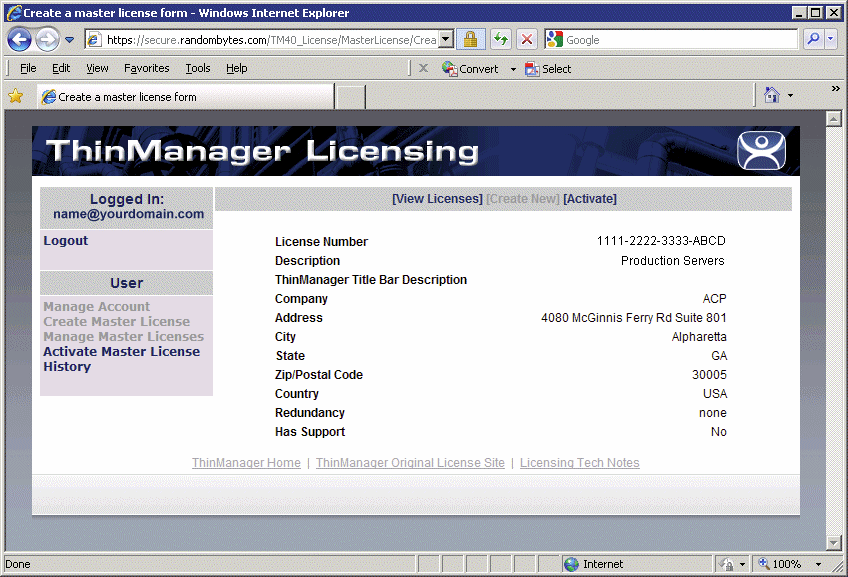
  • Master License Number – This link displays the master license details.


Add Product License
The Master License needs the product license codes of the component licenses to be added to the master
license. This is done by selecting the Add Product License link of the Manage Master License page.
    acp8.png


Enter the product license code (license number) of the component license to the License Number field and
select the Submit button.

     acp9.png


When a product code of a license is successfully added to the master license the web site will show a
confirmation message.
Enter as many product codes as you have licenses to add to the master license repeat as needed.
If you add a non-redundant Terminal Connection product license to a redundant or mirrored master license it
will ask you which ThinManager Server you want to apply the product license to.
The master license will need activation and downloading after each group of product licenses are added.


Activate the Master License
The Master License needs activated and downloaded once the product license codes of the component
licenses have been added to the master license. This is done by selecting the Activate Master License link
of the Manage Master License page.
    acp10.png


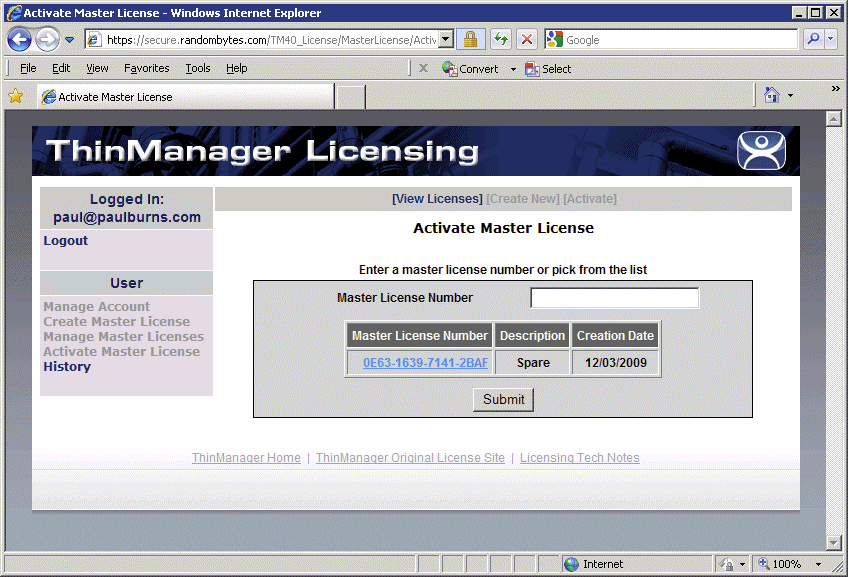
Selecting the Activate Master License link will display the Activate Master License page with a list of all the

master licenses that are registered to the person logged in.
Select the master license from the table or enter the master license number into the Master License Number
field and select the Submit button.

    acp11.png


Activation requires the entry of the Installation ID of the ThinManager Servers that the master license will be
installed on.
The Installation ID(s) will need to be added each time the Master License is activated or re-activated.
 
    acp12.png
 
The Installation IDs are shown on the Licensing window that is launched by selecting Install > Licenses
from the ThinManager menu.
Enter the required installation IDs into the Primary Installation ID field (and the Secondary Installation ID
field if needed) on the Activate Master License page of the License Activation web site.
Select the Submit button to finish the activation.
 
Download the Master License
Download the master license by selecting the Manage Master Licenses link from the main menu.
    acp13.png
 

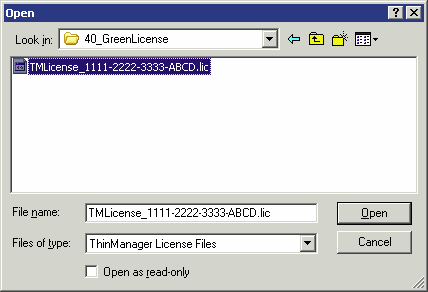
Select the Download File link for the master license.

    acp14.png


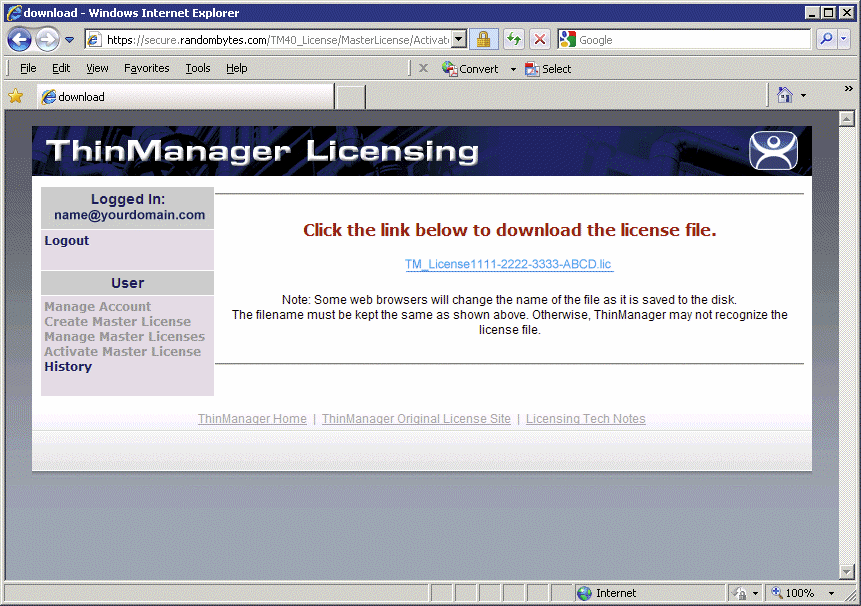
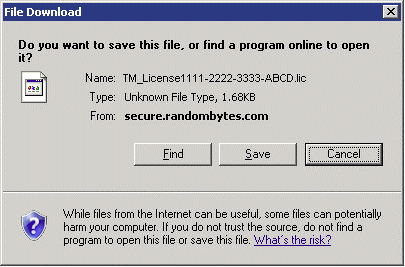
Select the link on the page to start the download.

    acp15.png


The download will begin and prompt you to save the file. Do not save it directly into the ThinManager folder
but save it to a folder that is accessible from ThinManager.


Adding a Master License to ThinManager
Licenses are added to ThinManager Servers by selecting Install>Licenses from the ThinManager Menu.
    acp16.png
 

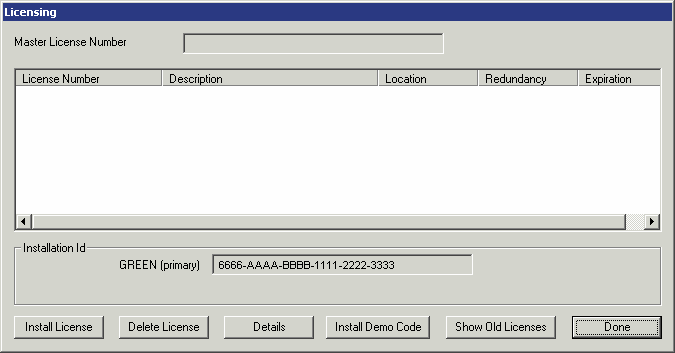
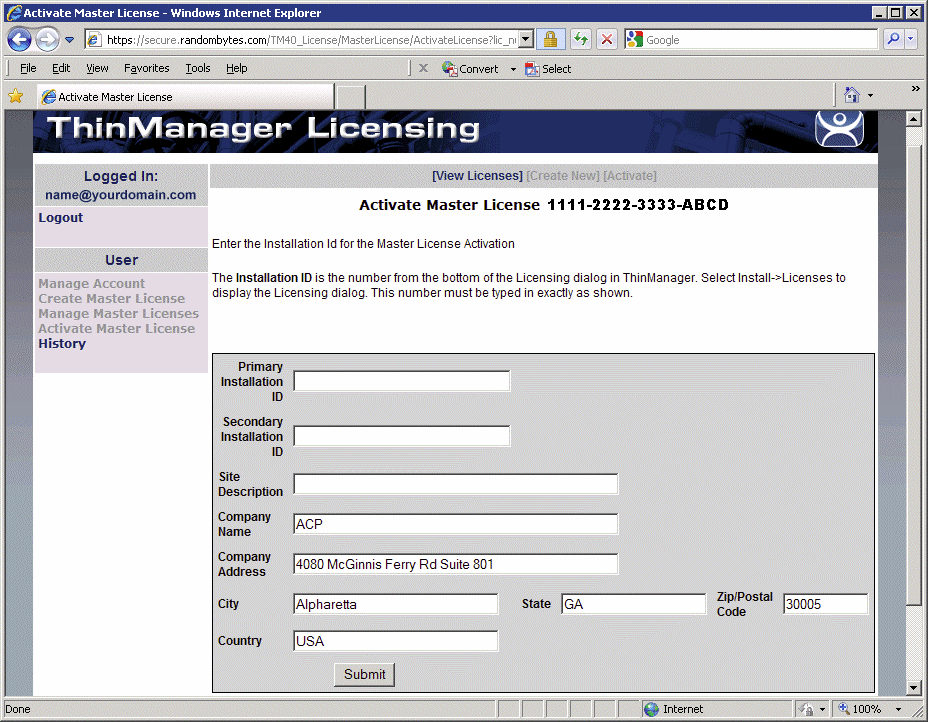
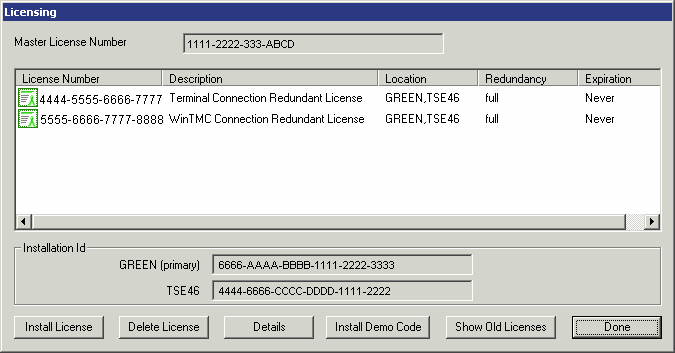
Single, unsynchronized ThinManager Servers will display the Installation ID for the local ThinManager Server.


    acp17.png


Synchronized ThinManager Servers will show the Installation IDs for both redundant ThinManager Servers.
See the Automatic Synchronization Tech Note for details.


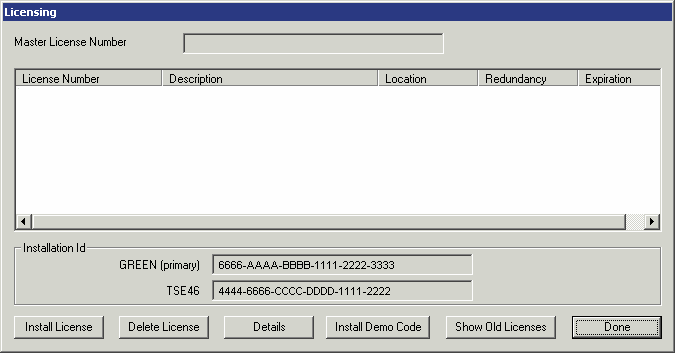
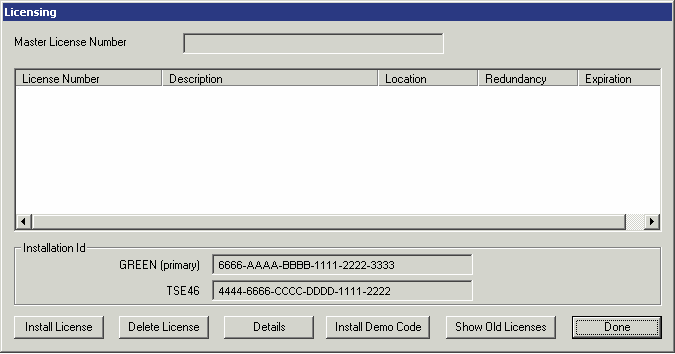
Select the Install License button to launch a file browse window.


    acp18.png


Browse to the folder that the master license is saved in. Highlight the master license and select the Open
button to install the license.


    acp19.png


The master license will be displayed in the Master License Number field. The product code of each
component license will be displayed in the license window.


Validation


Related Videos


  • Was this article helpful?