TN DA123 Creating an OPC UA Connection in Application Server
![]()
Description
This article walks through the steps of creating a connection to an OPC UA server from within the ArchestrA IDE
- Author: Joseph Hefner
- Published: 8/20/2015
- Applies to: Application Server 2014 and above
Details
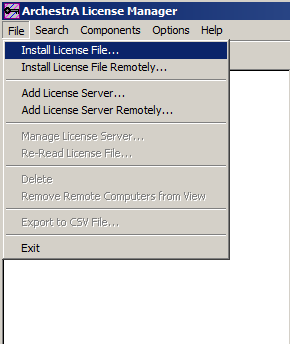
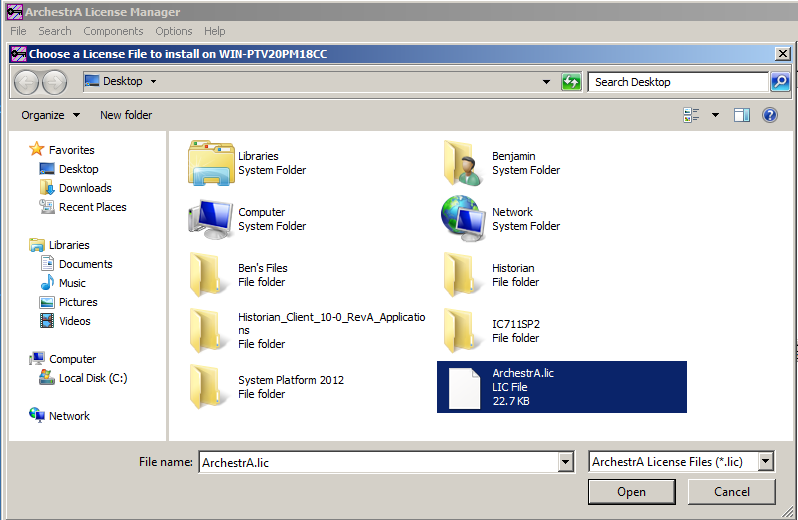
The OPC UA Client is not part of the Application Server installation. The first step is to download and install the software from the link below:
https://gcsresource.invensys.com/tracking/ConfirmDownload.aspx?id=20970
The next step is to launch the ArchestrA IDE and the go to Galaxy \ Configure \ ArchestrA Services as below:
Next you will need to locate the ASBOPCUAClientService and right click on it and choose "Create"
Next right click on the new object and select "Check-out"

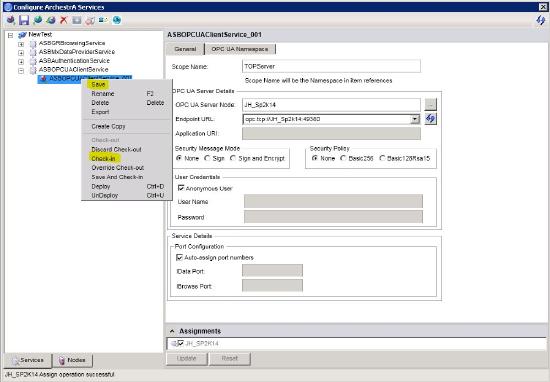
Enter in the following OPC UA Server Information that matches the settings from your OPC UA Server:
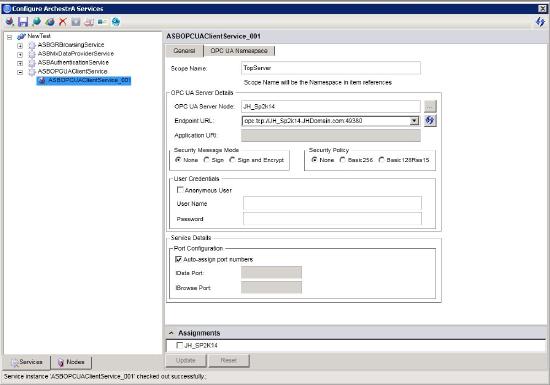
Click the "OPC UA Namespace" tab and confirm you are able to obtain the namepace information from the server.

Next right click the OPC UA Obect and click "Save" and then "Check-in"
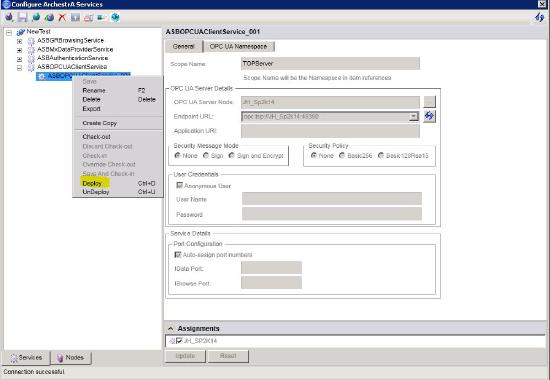
Finally you can deploy your instance by right clicking on it and choosing "Deploy":
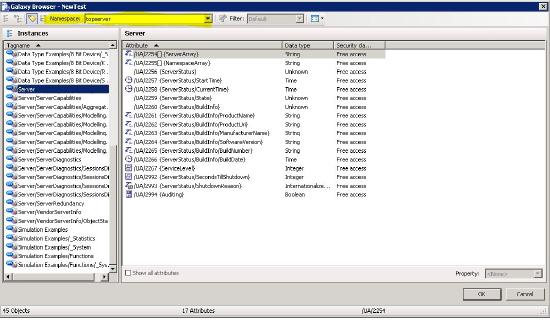
You can now select the added namespace for the OPC UA Client as an input source for an object in Application Server: