Installing and configuring the SIDIRECT DA Server
| |

| INSTALLATION GUIDE |
| Author | Joseph Hefner |
| Publish Date | 1-15-2014 |
| Applies to Software | SIDirect DA Server |
| Applies to Version | 3.0 |
| Applies to System/Module | na |
| Article Version | 01.01.01 |
************************************************************************************************************************************************************
Installation:
Launch the setup.exe that is located on the root of the DASSIDirect DA Server installation folder. This will be in the following location if you are installing the software from the Device Integration 2012 R2 DVD:
DVDDrive:\DIFolders\SI\SIDirect\3.0
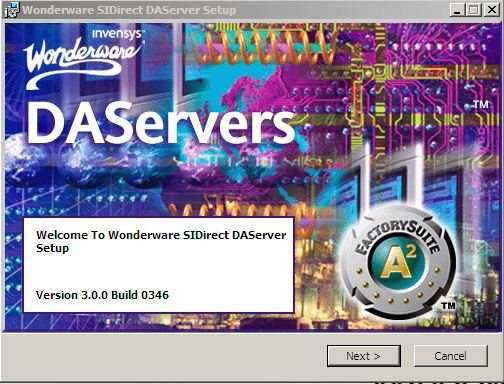
Once the setup has been launched you should see the screen below. Click the next button to proceed with the installation.
Next accept the license agreement and then click the Next button.

The DA Server installation will shut down any DA Servers that are currently running during the installation. The next screen is an acknowledgment of this fact and a warning that the installation may require a reboot. Press the Next button to proceed.

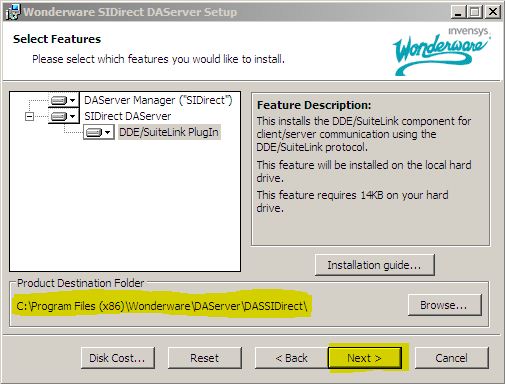
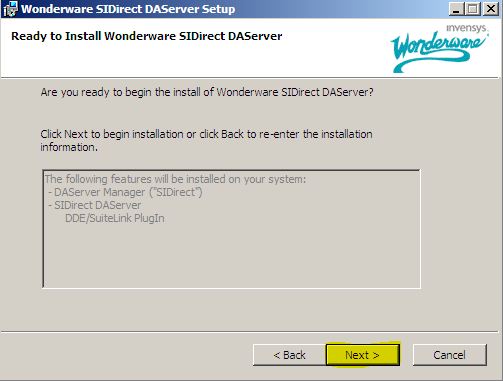
Choose the location where you would like to install the DA Server and then click the Next button and then Next at the following screen to proceed. The default location for a 64 bit Operating System will be the location in the screenshot below:
Click the Finish button to complete the installation of the DA Server.
Using an existing configuration file
The DA Server configuration (.aacfg) files are stored in the specific location depending on the version of the DA Server that is installed. The following locations are for the associated Operating Systems below:
Windows XP \ Server 2003
New Version
C:\Documents and Settings\All Users\Application Data\Wonderware\DAServer\DASSIDirect
Older Version(s)
C:\Program Files\Wonderware\DAServer\DASSIDirect\Bin
Windows 7 \ Server 2008
New Version
C:\ProgramData\Wonderware\DAServer\DASSIDirect
Older Version(s)
C:\Users\All Users\Wonderware\DAServer\DASSIDirect
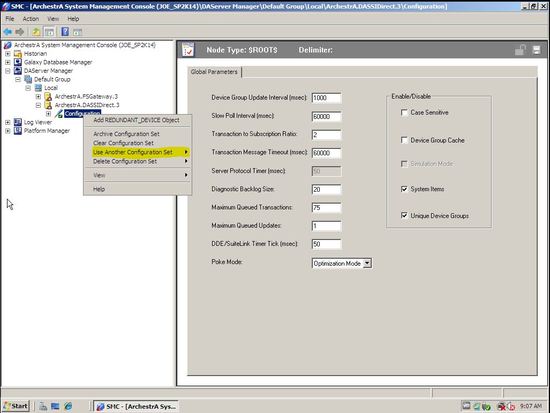
If you already have an existing system with the same configuration as you wish to use you can simply copy the .aacfg file from the working machine to the equivalent location on the new machine. If your new configuration is named something other than DASSIDirect.aacfg you will need to switch to the new configuration by right clicking the configuration under the DASSIDirect and then choosing “Use Another Configuration Set” and selecting the appropriate configuration file. If the DA Server is activated it will need to be de-activated before you can switch to another configuration.
Creating a new configuration
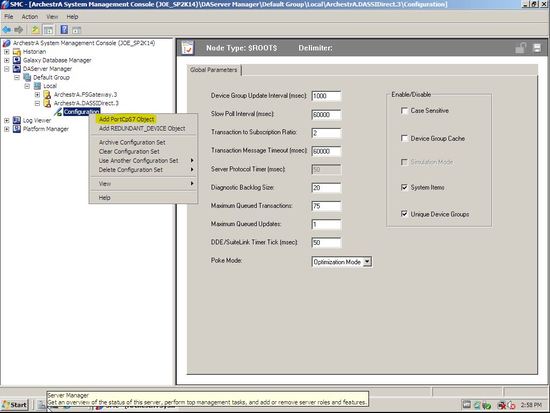
The first step for creating a new configuration will be to right click on the configuration and choose “Add PortCp57 Object. This tech note does not cover the option for configuring the DASSiDirect for redundant PLC feature. Information for setting up this feature can be found in Wonderware tech note 854 at the link below:
https://wdnresource.wonderware.com/s.../1/t002649.htm
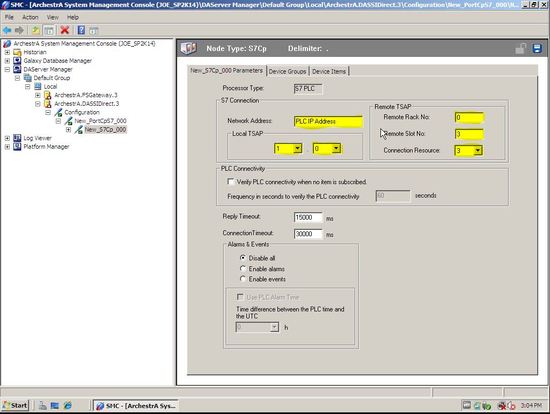
If you wish to add an S7-300 or S7-400 PLC you will choose the option for “Add S7cp Object” as in the screenshot below:
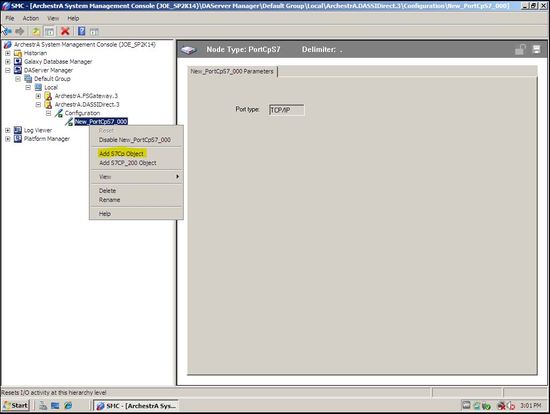
For a S7-200 PLC you will create an S7_200 Object instead of the S7cp object.
Enter the PLC IP Address in the field for Network Address.
Below are the most common settings for an S7-300 and S7-400 configuration:
S7-300
Local TSAP: 1.0
Remote TSAP:
Remote Rack No: 0
Remote Slot No: 2
Connection Resources: 3
S7-400
Local TSAP: 1.0
Remote TSAP:
Remote Rack No: 0
Remote Slot No: 3
Connection Resources: 3
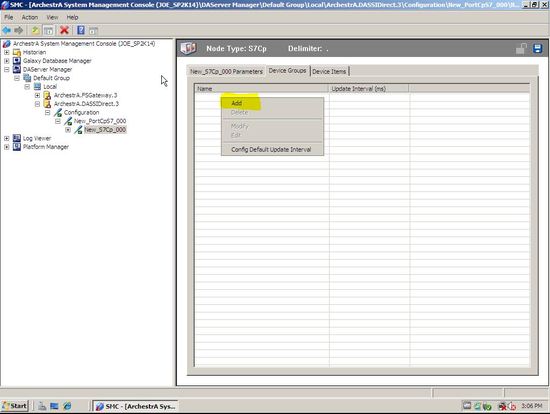
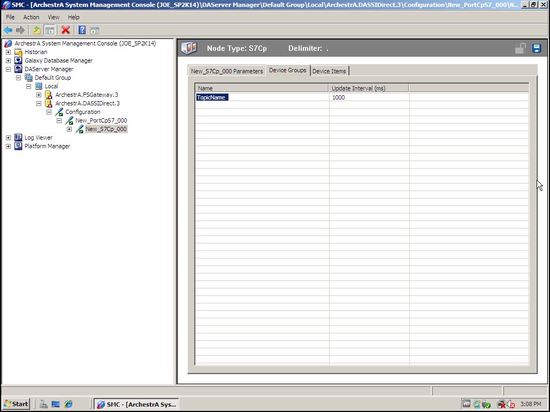
The next step will be to create topics. To do this you will click on the Device Groups tab within the S7cp object. Next right click and choose Add and create a topic name. If multiple topics are going to be used it is recommended to stagger the Update intervals using prime numbers.
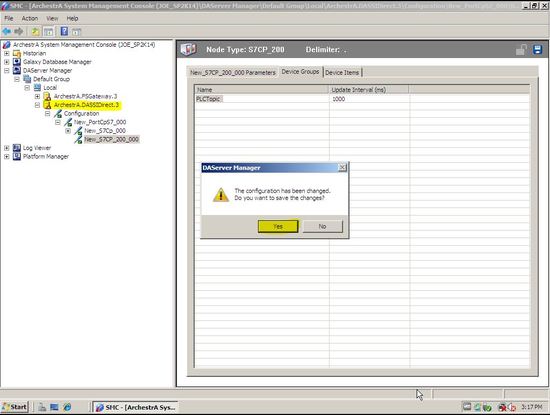
Next you will save the configuration by clicking the save icon in the upper right corner and if prompted click yes to save the changes.
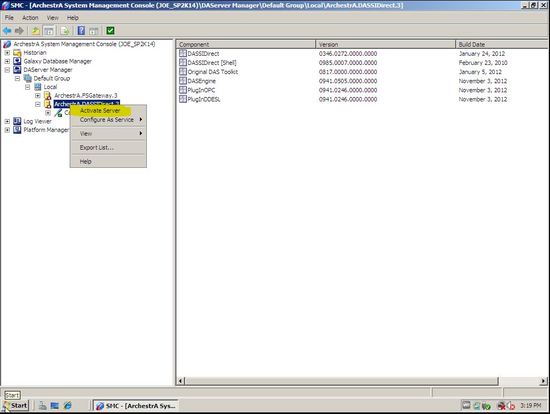
The last step will be to right click on the DASSIDirect DA Server and choose Activate Server.