Installing and configuring the MBTCP DA Server
| |

| INSTALLATION GUIDE |
Description
This Tech Note was written as a general walkthrough for installing and configuring the DASMBTCP DA Server 3.0. The actual screens encountered may vary depending on other Wonderware software that is currently installed on the machine.
| Author | Benjamin Davis |
| Publish Date | 01/15/2014 |
| Applies to Software | DASMBTCP DA server |
| Applies to Version | 3.0 |
| Applies to System/Module | |
| Article Version | 01.01.01 |
************************************************************************************************************************************************************
Pre-Requisites
The MBTCP DAServer version 3.0 SP1 support the following Operating Systems:
- Microsoft Windows XP Pro SP3 (32-bit version)
- Microsoft Windows 2003 Server SP2 (Standard and Enterprise) (32-bit version)
- Microsoft Windows 2003 Server R2 SP2 (Standard and Enterprise) (32-bit version)
- Microsoft Windows Vista SP2 (32-bit and 64-bit) (Ultimate, Business, Enterprise) (see Windows Operating System Restrictions)
- Microsoft Windows 2008 SP2 (32-bit and 64-bit) (Standard and Enterprise)
- Microsoft Windows 2008 Server R2 SP1 (64-bit) (Standard and Enterprise)
- Microsoft Windows 7 SP1 (32-bit and 64-bit) (Professional and Ultimate)
- Microsoft Windows 7 Embedded (32-bit)
- Microsoft Windows 8 (32-bit and 64-bit) (Professional and Enterprise)
- Microsoft Windows 2012 Standard (64-bit)
Detailed Steps
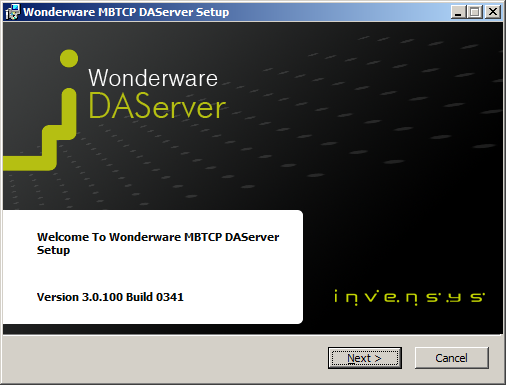
InstallationLaunch the setup.exe that is located on the root of the DASMBTCP DA Server installation folder.
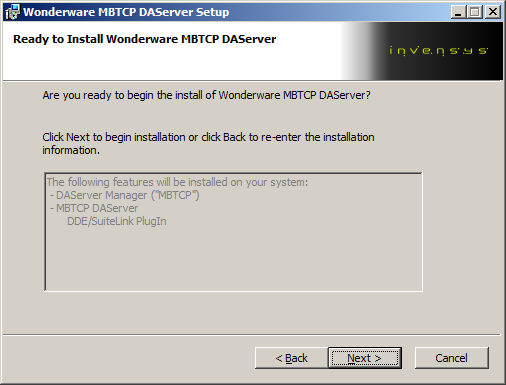
Once the setup has been launched you should see the screen below. Click the next button to proceed with the installation.
Next accept the license agreement and then click the Next button.

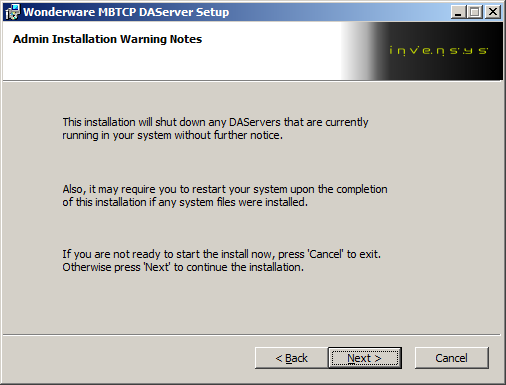
The DA Server installation will shut down any DA Servers that are currently running during the installation. The next screen is an acknowledgment of this fact and a warning that the installation may require a reboot. Press the Next button to proceed.
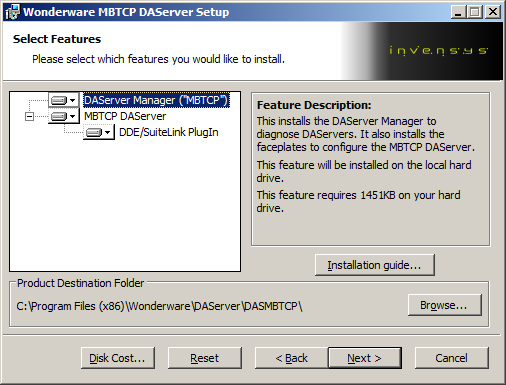
Choose the location where you would like to install the DA Server and then click the Next button and then Next at the following screen to proceed. The default location for a 64 bit Operating System will be the location in the screenshot below:
Click Next.
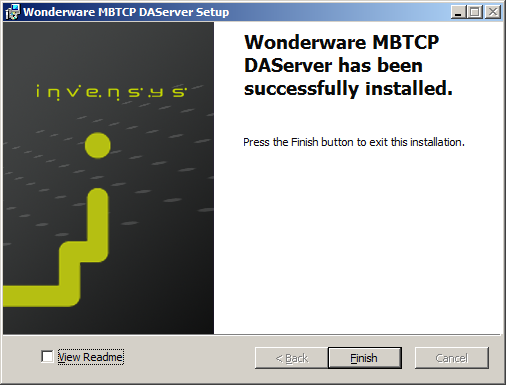
Click the Finish button to complete the installation of the DA Server.
Configuration
Using an existing configuration file
The DA Server configuration (.aacfg) files are stored in the specific location depending on the version of the DA Server that is installed. The following locations are for the associated Operating Systems below:
Windows XP \ Server 2003
New Version
C:\Documents and Settings\All Users\Application Data\Wonderware\DAServer\DASMBTCP
Older Version(s)
C:\Program Files\Wonderware\DAServer\DASMBTCP\Bin
Windows 7 \ Server 2008
New Version
C:\ProgramData\Wonderware\DAServer\DASMBTCP
Older Version(s)
C:\Users\All Users\Wonderware\DAServer\DASMBTCP
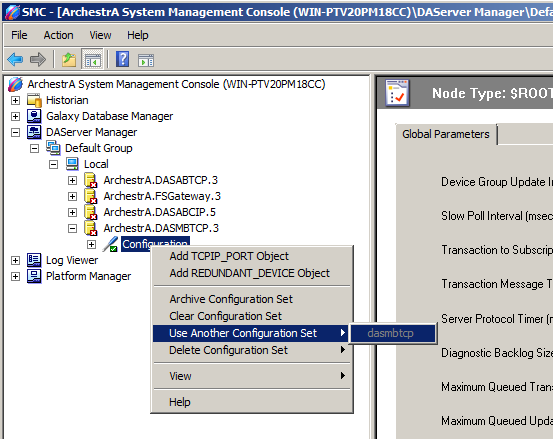
If you already have an existing system with the same configuration you wish to use, simply copy the DASMBTCP.aacfg file from the working machine to the equivalent location on the new machine. If your new configuration is named something other than DASMBTCP.aacfg you will need to switch to the new configuration by right clicking the configuration under the DASMBTCP and then choosing “Use Another Configuration Set” and selecting the appropriate configuration file. If the DA Server is activated it will need to be de-activated before you can switch to another configuration.
Creating a new configuration
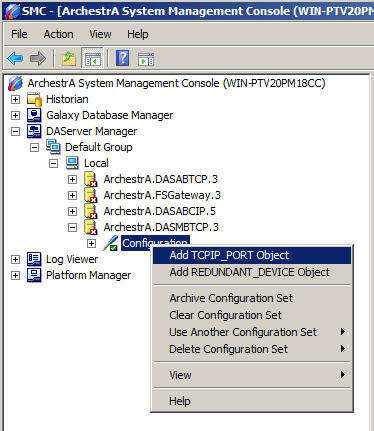
The first step for creating a new configuration will be to right click on the configuration and choose “Add TCPIP_Port Object.”
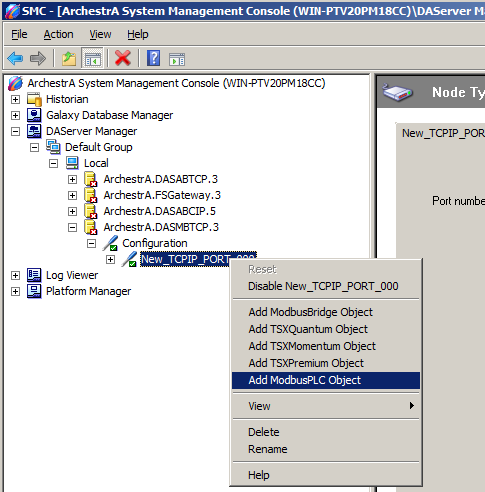
Right click the newly added port. Choose the type of processor you wish to add.
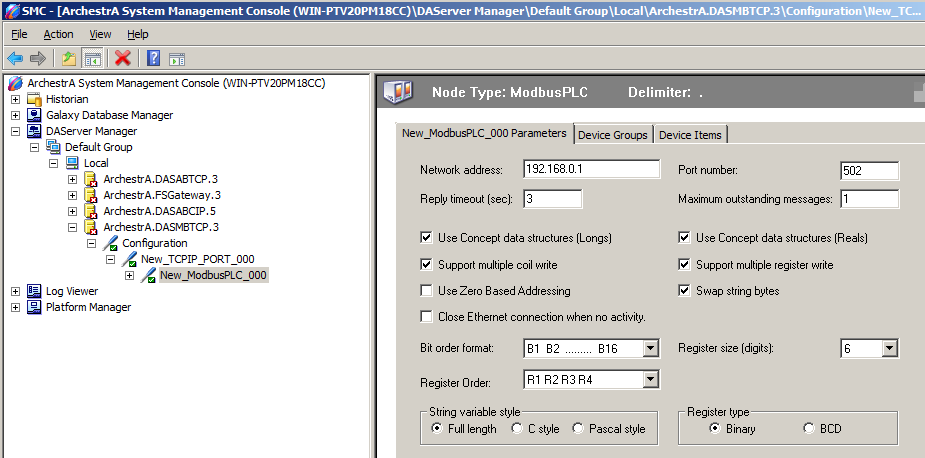
In the Network Address field, enter the IP address of the PLC. Match Bit order format, Resister size, and Resister type to the settings of the PLC.
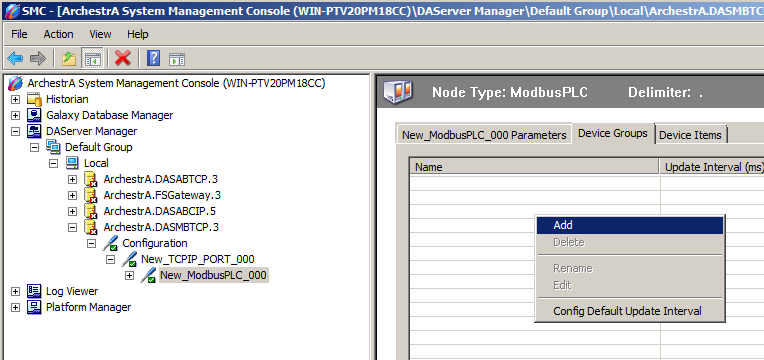
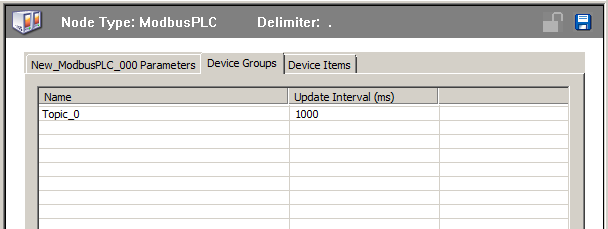
The next step will be to create topics. To do this you will click on the Device Groups tab within the PLC object. Next right click and choose Add and create a topic name.
Save the configuration by clicking the floppy disk in the upper right corner.
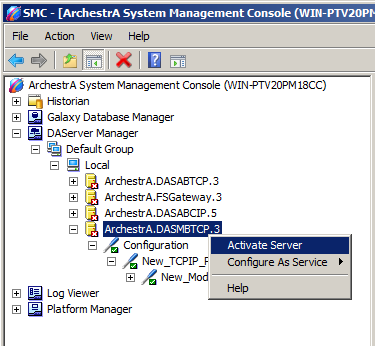
Right click on the DASMBTCP DA Server and choose Activate Server.