Installing and configuring the ABDHPLUS DA Server
| |

Installation Guide
| Author | Alex Davenport |
| Publish Date | 01/15/2014 |
| Applies to Software | DAServers |
| Applies to Version | 1.5 SP1 |
| Applies to System/Module | |
| Article Version | 01 |
************************************************************************************************************************************************************
Installation
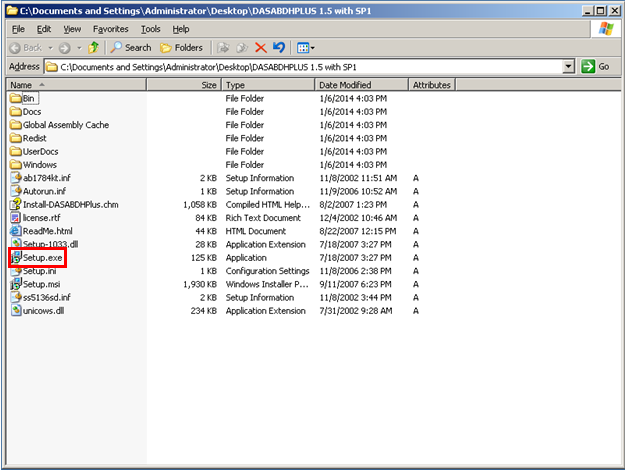
Open the Installation folder on either the DVD or if you have copied the files locally then double click the Setup.exe highlighted below.
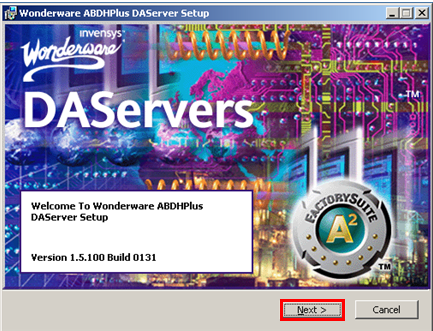
The following Splash Screen will appear then Click Next Button
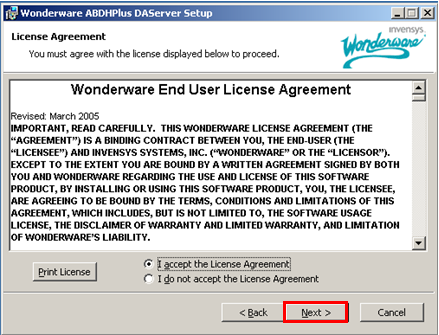
Click to the radio button to accept the License Agreement and then click the Next Button.
Click the Next Button
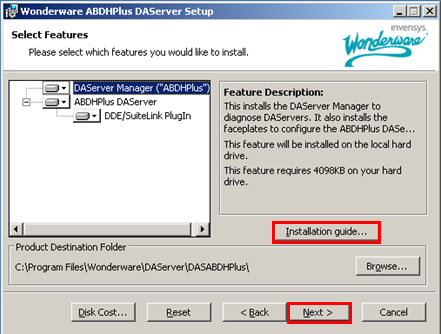
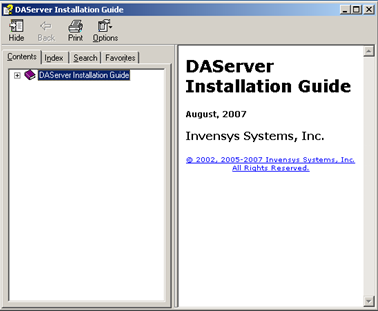
The following screen appears and at this point you have the option to open the Installation Guide shown below. If not then you can choose where the DA Server is installed or leave it at the default location. Click the Next Button.
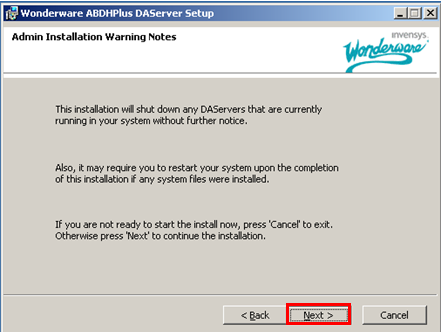
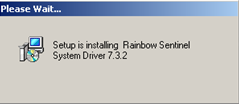
The following screen will appear advising you that it will install the Rainbow Sentinel System Driver which is required.
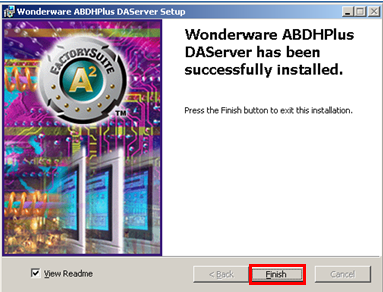
The following screen will appear advising you that your ABDHPlus DA Server has been successfully installed. Click on the Finish button.
Configuration
Using an existing configuration
If you have an old configuration of the ABDHPlus driver this will have created a .aacfg file that we are able to import into our new configuration. The location for this file is in the following directory
C:\Program Files\Wonderware\DAServer\DASABDHPlus\Bin
If you already have an existing system with the same configuration as you wish to use you can simply copy the .aacfg file from the working machine to the equivalent location on the new machine. You will need to switch to the new configuration by right clicking the configuration under the DASABDHPlus and then choosing “Use Another Configuration Set” and selecting the appropriate configuration file. If the DA Server is activated it will need to be de-activated before you can switch to another configuration.

Creating a new configuration
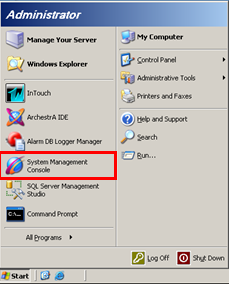
You will now need to start your Systems Management Console to enable you to configure your newly installed DA Server as shown below. Wonderware Tech Note 584 will help you through the configuration of this. This can be found at https://wdnresource.wonderware.com/s.../1/t002271.htm
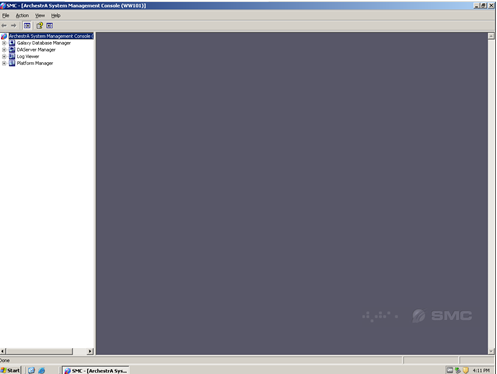
The following screen will appear
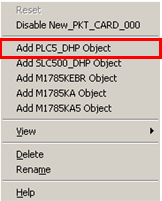
We will now need to expand the DA Server Manager Tree down to the Configuration Level. You now need to Left Click then Right Click then select the appropriate Object from the selections below.
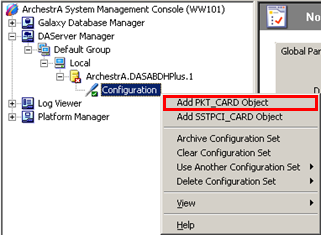
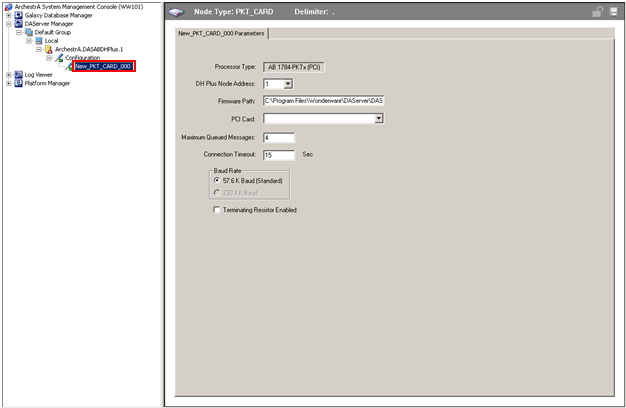
When you select the card the Configuration Tree is added to as seen below. Configure the appropriate PCI Card.
We now need to add the appropriate Object to our configuration
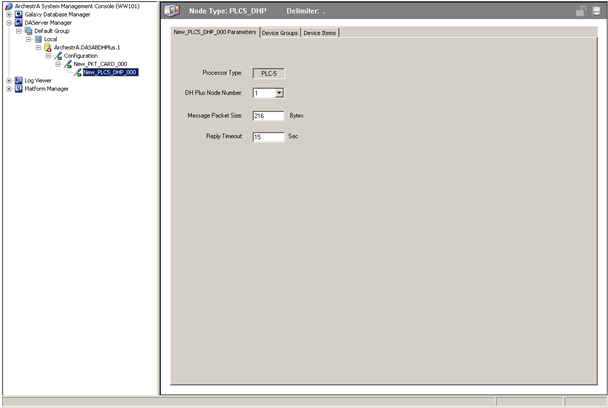
Once the Object is selected it is added to the Configuration Tree as seen below.
Click on Device Groups Tab and then Right Click selecting Add.
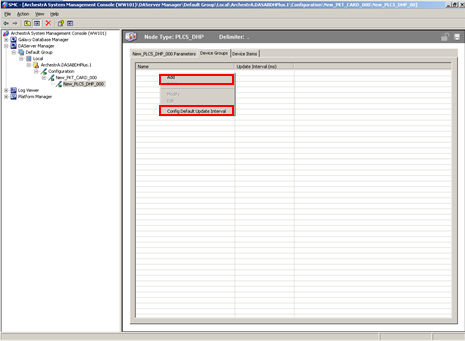
Choose your Topic Name and then Save. If you need to change your Update Interval then do so here.
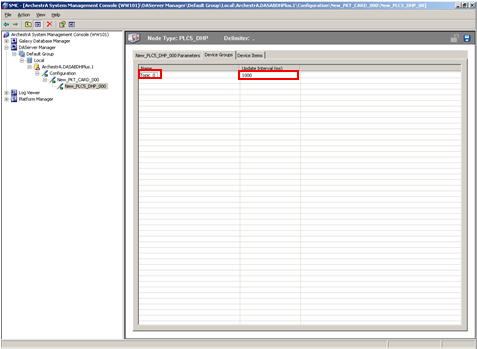
Click on the Save Button to save the Configuration

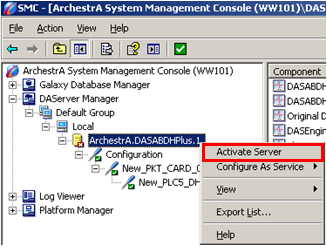
We need to go back to the top of the Configuration Tree and Left Click on the DA Server the Right Click and select Activate Server.