"Basic" System Platform/Historian 2014 Licensing
Overview
This section is for the Historian but the Licensing portion is pretty much the same for most Wonderware products.
The only significant difference in licensing is not product specific but in whether you are using server licensing and/or client based licensing. The formats of the files that you select are a bit different. Don't worry however as you can install every license you have and the new 2014 licensing manager will figure it out what is server, what is client, and what is obsolete or replaced.
This tutorial is specific to using the default approach to the licensing tool (i.e. not pressing the "Advanced Licensing" button).
After installing licenses, the Historian needs to be configured. To do so, you must run the Wonderware Configurator (located in the Wonderware folder). This is detailed in another document under Historian Installation.
Licensing Steps
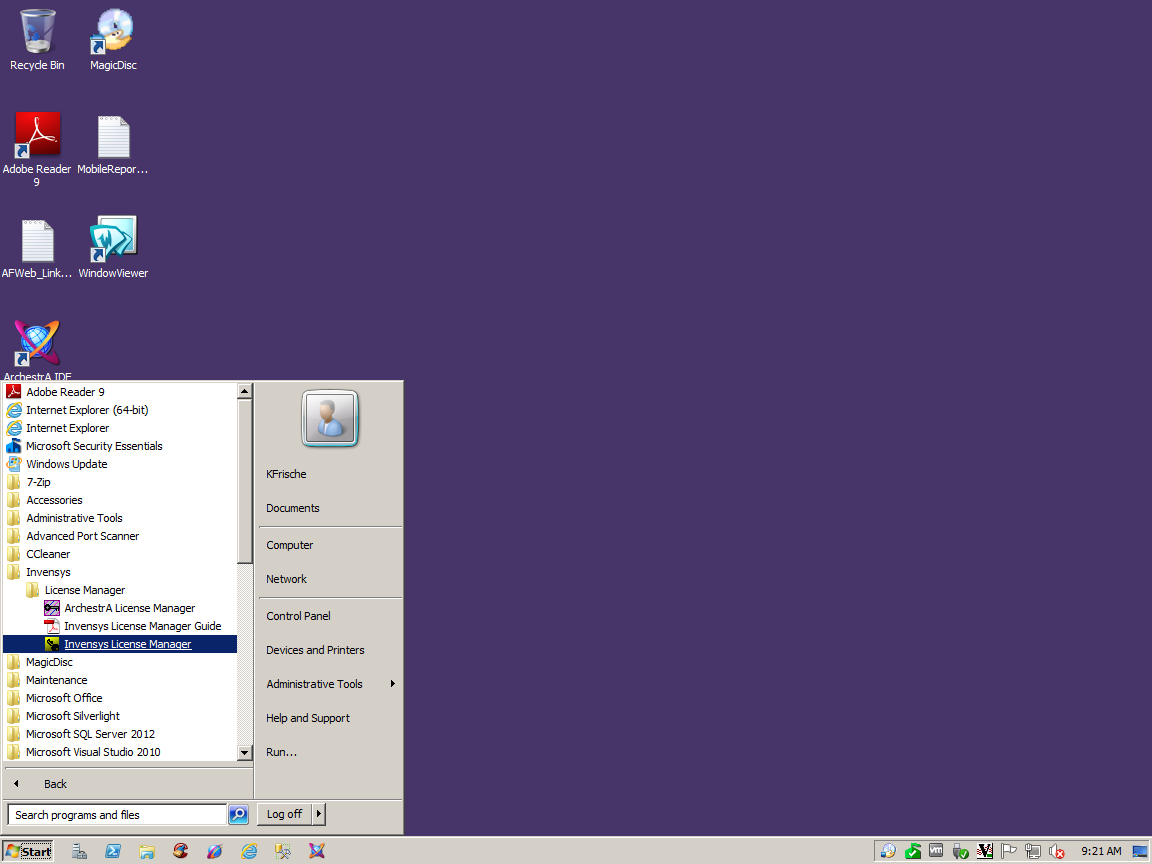
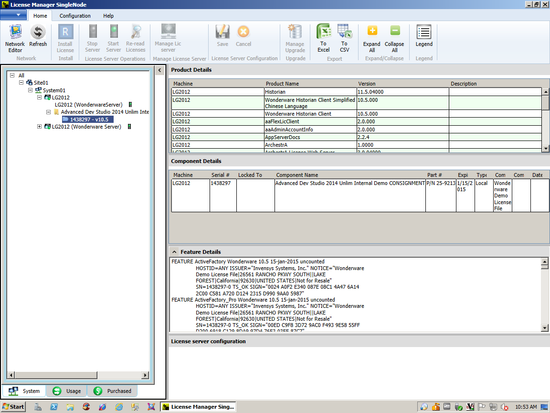
One significant change for 2014 Licensing is that we have a whole new license manager program.
One thing to remember --> it's in another folder location in startup; specifically a new Invensys folder.
Note that the old Archestra Licensing Manager is still available (and still works) but it less intuitive than the new.
Fire the new program up.
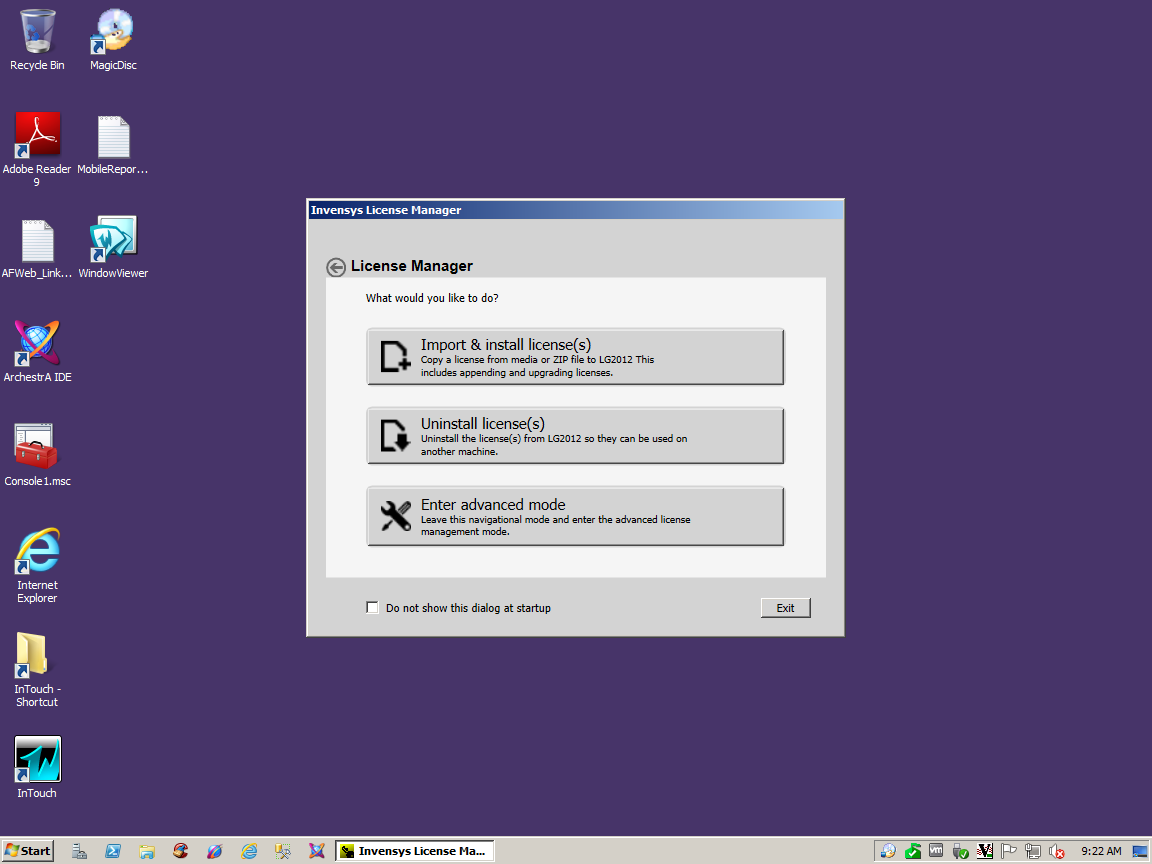
This tutorial is about installing licenses using the basic functionality. I.E. not pressing the "Enter Advanced Mode" button.
Assuming we avoid that temptation for the moment we will do the "Import and install license(s)" thing.
Press that button so we can move on...
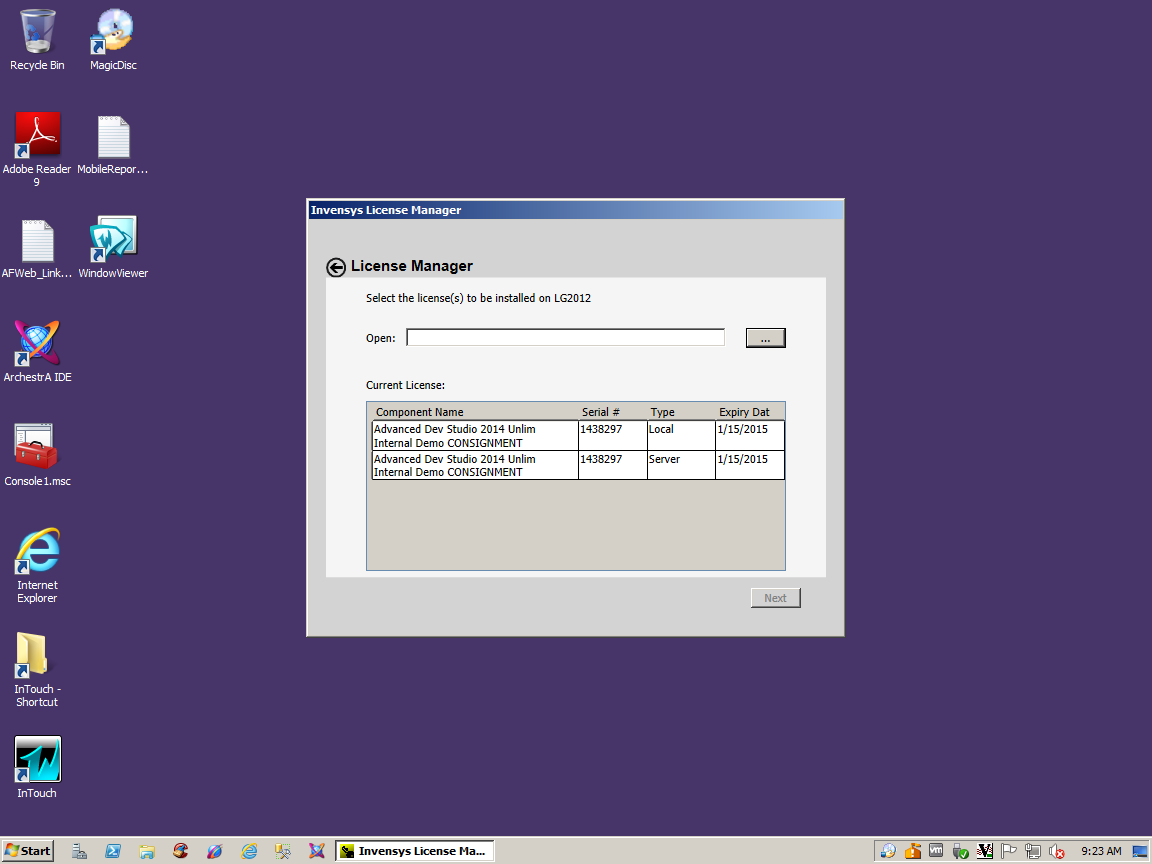
The following license screen will show any current licenses with the license information in a grid.
Assuming we need to install a new one or update an existing we can use the ellipses to open and search...
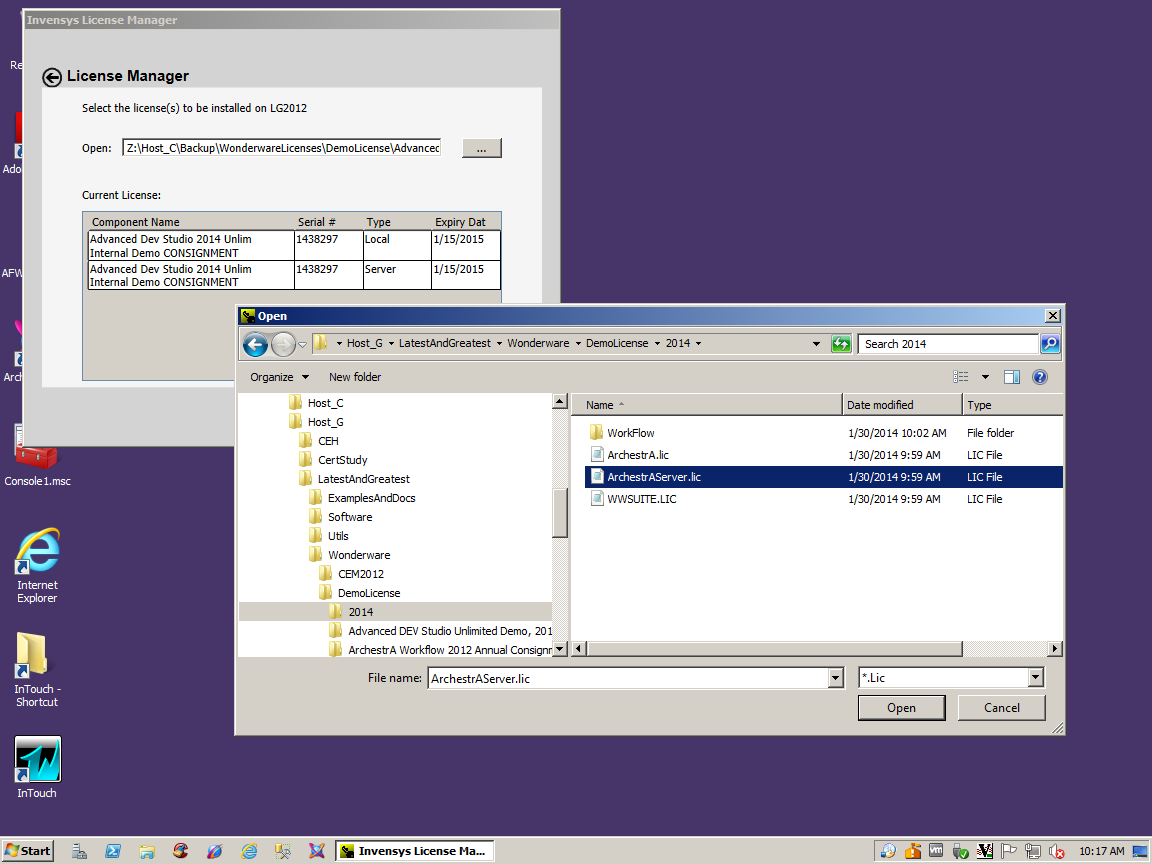
The new license manager allows you to select one or more files.
Select your license file(s) and select the open button.
We get a new screen offering to replace or append the licenses.
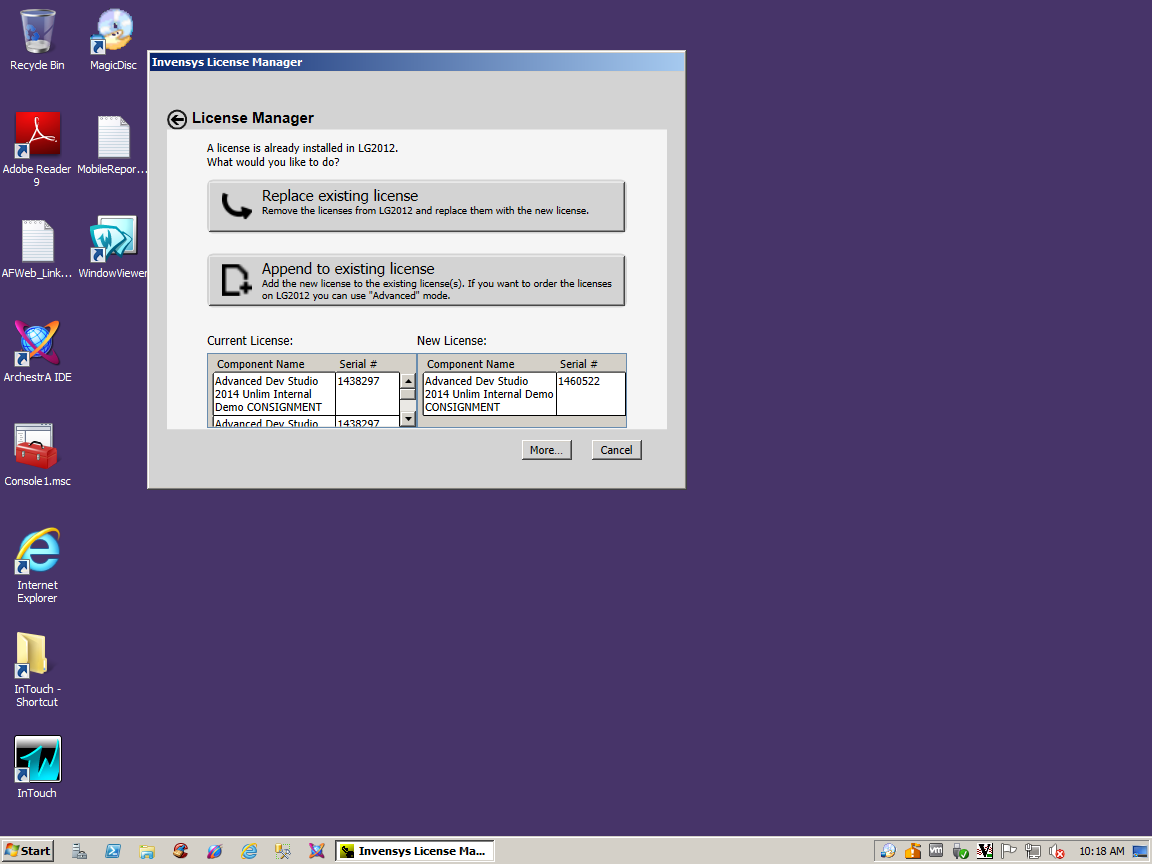
Click the more button if you need to see a larger grid of licenses.....current and the license(s) pending to be newly added.

If you have more licenses, select the "Append to existing license" button.
In this case, I selected "Replace Existing Licenses" because I chose the same Archestra server license that was already installed.
When an Archestra server type license is replaced it will require the server name (or IP address of the relevant server).
In this case, my server name is LG2012.
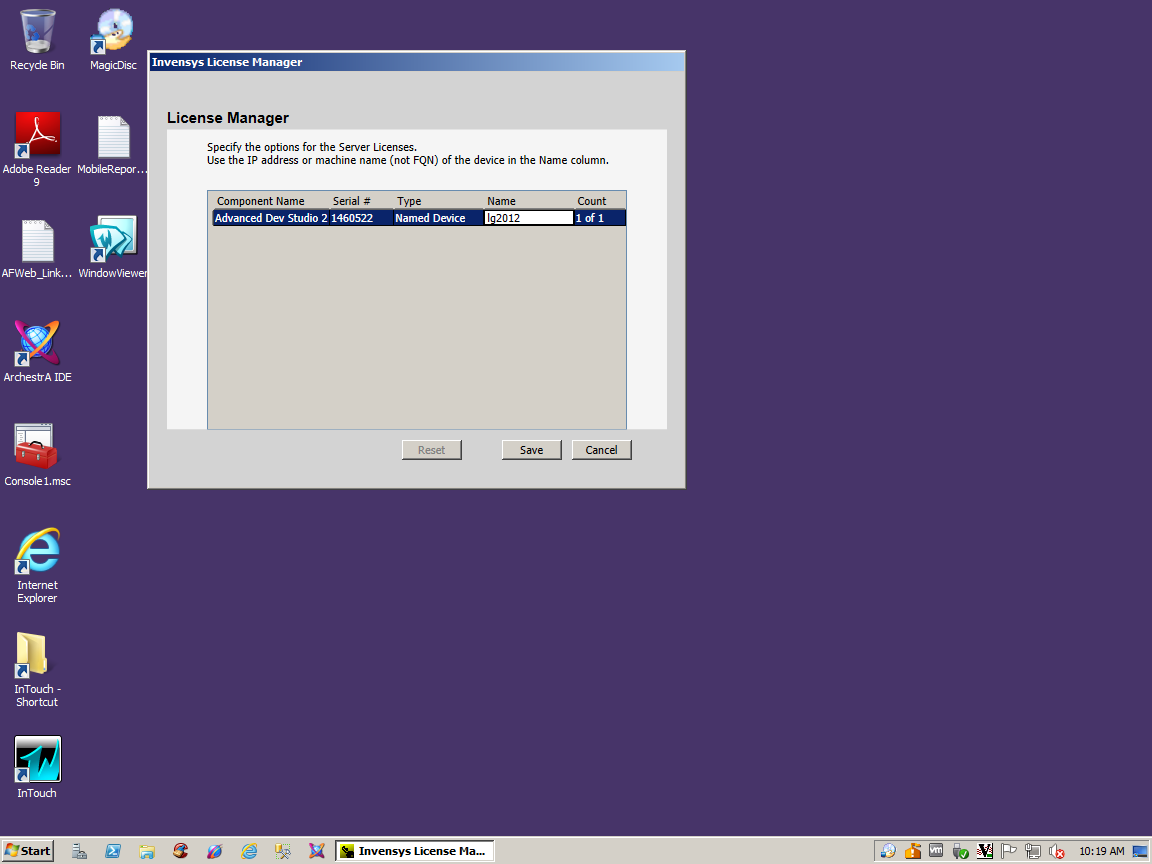
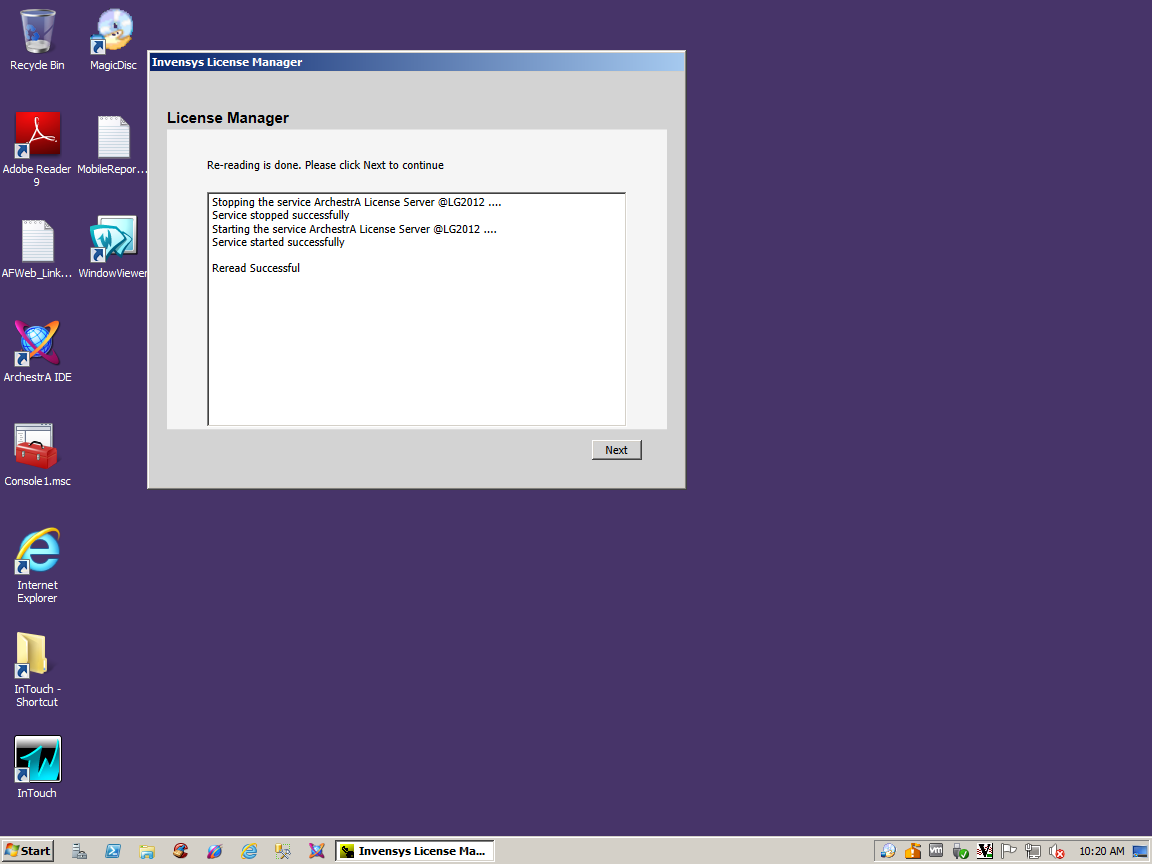
Select the Save button and the archestra license service will be restarted and tested.
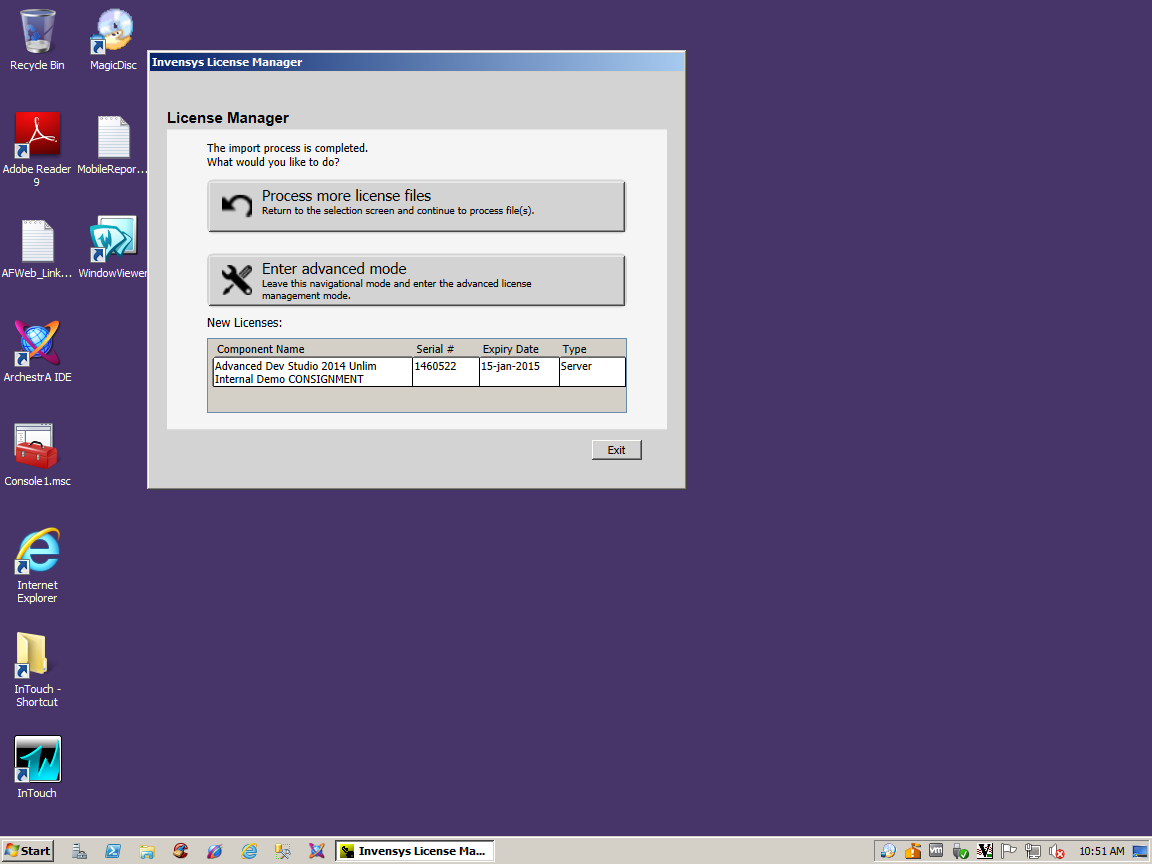
Ultimately, you will be presented with the option of processing more license files or exiting.
Assuming you couldn't resist pressing the "Advanced Mode" button, it will look something like this.
The advanced mode allows you to move licenses between different servers and clients and provides a great deal more information that the basic default usage. Regardless, that detail is another story and for another document.