TN HistClient115 How to generate a simple report with Historian Client Workbook
![]()
This Tech Note will walk you through creating a simple Historian Client Workbook report getting historical values for a tag out of the Historian Server. In this example it will be the ReactLevel Tag with the default time period.
- Author: Alex Davenport
- Published: 05/16/2015
- Applies to: Historian Client
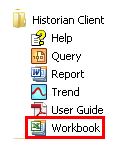
1 Open the Historian Client Workbook via Start - All Programs - Wonderware - Historian Client.
2 When the Workbook appears click on the Historian Tab and then click the Direct Query button.

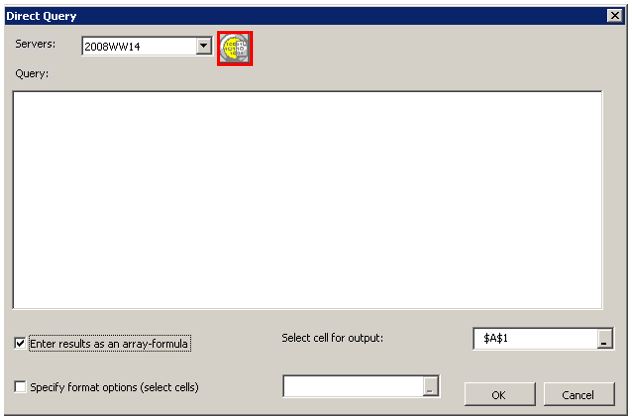
3 The Direct Query Menu appears then click on the Query Form button highlighted below.
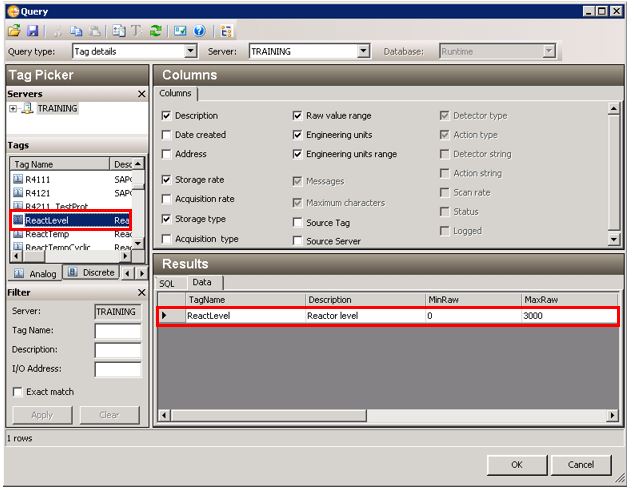
4 Once the Query Form Button is selected this calls the Historian Client Query tool as seen below.

5 In your Tags area find the relevant tag(s) you wish to use for obtaining data. If you want more than one tag hold down the Ctrl key to multi-select. They will appear in the Results area as seen below.
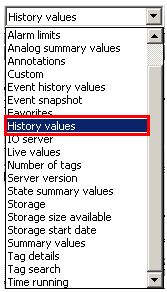
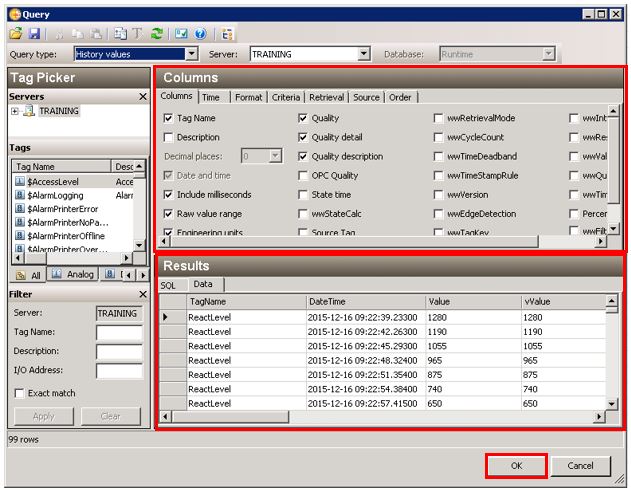
6 Click on the Query Type and select the History values option as seen below.
7 In the Results are you will see the data from the Historian Server that will be imported into the Report. If you want to refine the Columns you can select/deselect as appropriate. Click the OK button.
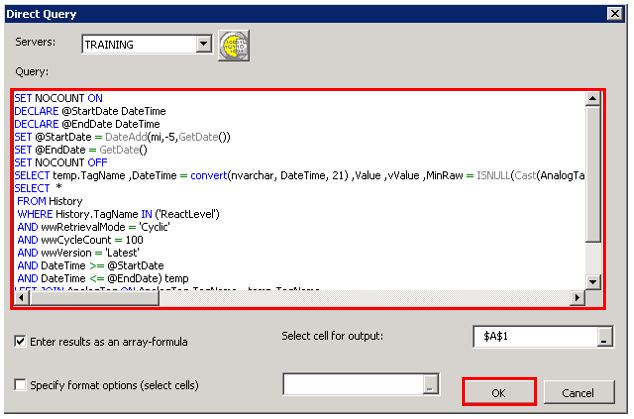
8 The Direct Query menu now updates with the SQL query from the Historian Query tool. Click on the OK button
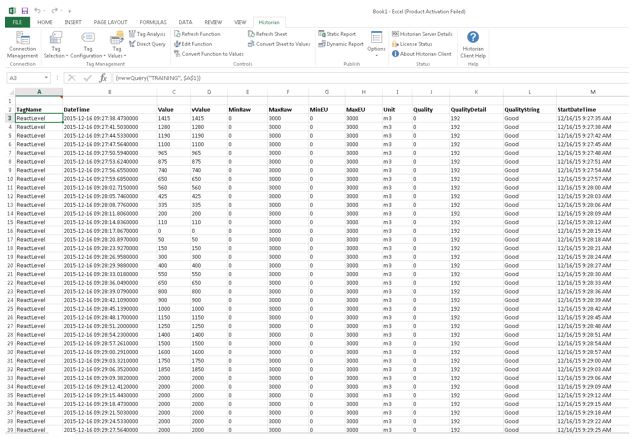
9 The Historian Client Workbook will now update with the imported data from the Historian Server as seen below.